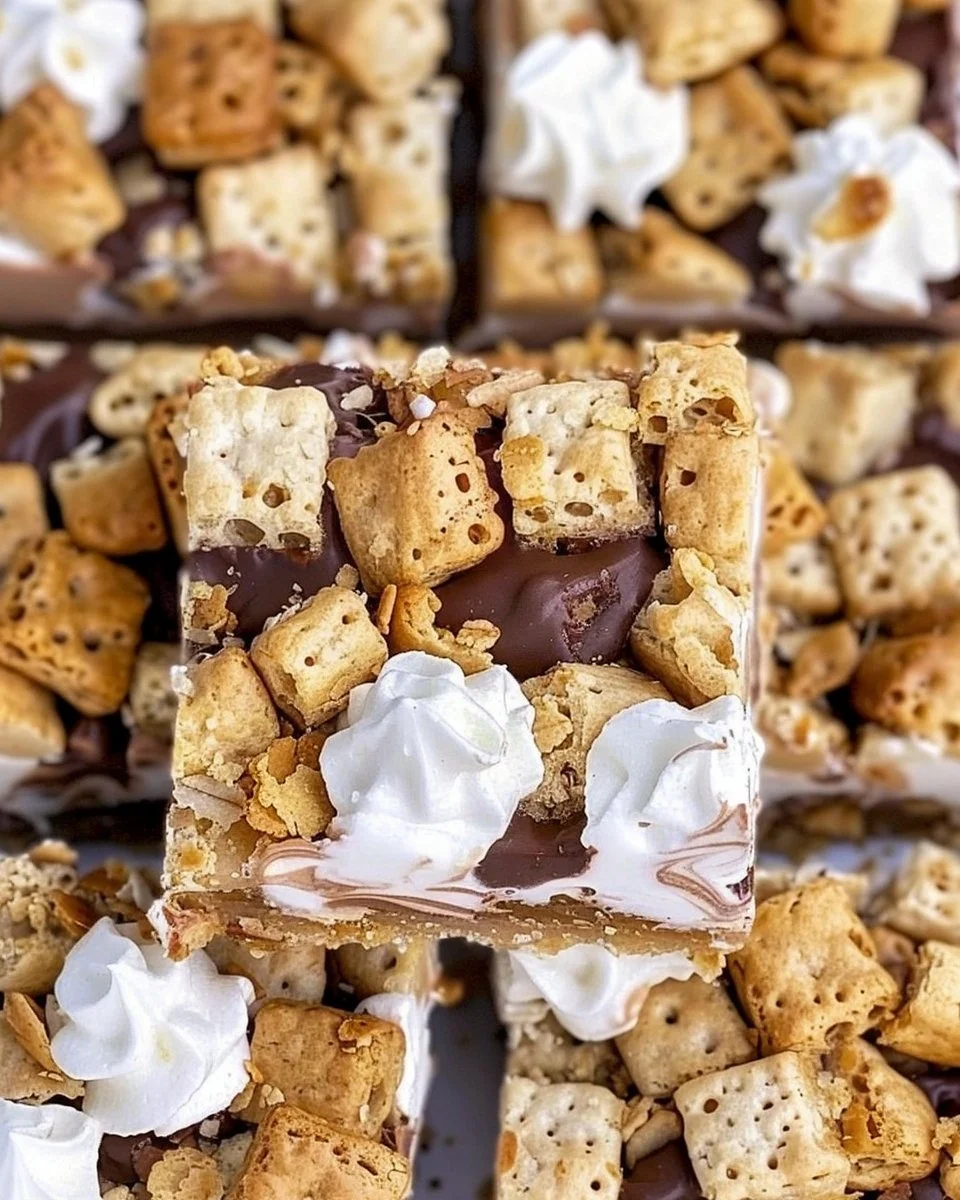
Sweet Nostalgia: Making Delicious S’mores Krispie Bars
Is there anything quite like the warm, gooey satisfaction of s’mores? Whether it’s the crackling campfire or the delicate balance of chocolate, graham crackers, and toasted marshmallows, s’mores evoke memories that make our mouths water and our hearts smile. Now, imagine capturing all that charm in a simple, no-fuss bar. Enter S’mores Krispie Bars—a delightful, chewy treat that melds the classic flavors of s’mores with the crispy crunch of Rice Krispies. Perfect for parties, picnics, or just because, these bars are as easy to make as they are to enjoy!
Why S’mores Krispie Bars Matter
S’mores Krispie Bars are not just a nostalgic treat; they’re a versatile dessert that can delight anyone, regardless of age. Whether you’re looking to satisfy a sweet tooth or impress friends at your next gathering, these bars can do it all. By combining the flavors of s’mores with a beloved crispy rice treat, you’re creating something truly special. The best part? They require minimal ingredients and are quick to make, which means less time in the kitchen and more time savoring every delicious bite.
Key Benefits of S’mores Krispie Bars
- Quick and Easy: With a straightforward preparation method, you can whip up these bars in less than 30 minutes.
- Crowd-Pleaser: Their nostalgic flavor profile appeals to kids and adults alike, making them a hit at any gathering.
- Customizable: Feel free to play around with the ingredients—add some peanut butter, replace the chocolate with butterscotch, or throw in nuts for an extra crunch.
- No Outdoor Fire Required: Enjoy that traditional campfire s’mores flavor without needing to step outdoors or build a fire.
The Essential Ingredients
To bring your S’mores Krispie Bars to life, you’ll need just a handful of ingredients:

- 4 cups Golden Grahams cereal
- 2 cups mini marshmallows
- 4 tablespoons unsalted butter
- 1 bag (10 oz) regular marshmallows
- 1 cup Hershey’s milk chocolate pieces
These ingredients are not only easy to find but also allow for some fun variations later on!
Step-by-Step Guide to Making S’mores Krispie Bars
Let’s dive into the fun part—making these delicious bars! Follow these steps for a sweet treat that’s sure to please.
- Prepare Your Pan: Start by greasing a 9×13 inch baking dish with a bit of butter or cooking spray to prevent sticking.
- Melt Butter and Marshmallows: In a large saucepan, melt the butter over medium heat. Add the entire bag of regular marshmallows and stir until they’ve completely melted and combined with the butter, creating a gooey mixture.
- Add the Cereal: Remove the pan from the heat and quickly stir in the Golden Grahams cereal. Mix until every piece is coated in the sweet marshmallow blend.
- Incorporate Chocolate: Gently fold in the Hershey’s milk chocolate pieces. You want them to melt a bit and blend into the mix without losing their chunks entirely.
- Transfer to Baking Dish: Pour the mixture into the prepared baking dish. Using a spatula or your hands (but be careful—it’s hot!), press the mixture firmly into the pan, ensuring it’s even and compact.
- Add Mini Marshmallows: Sprinkle the mini marshmallows on top. If desired, lightly press them into the surface for added sweetness in every bite.
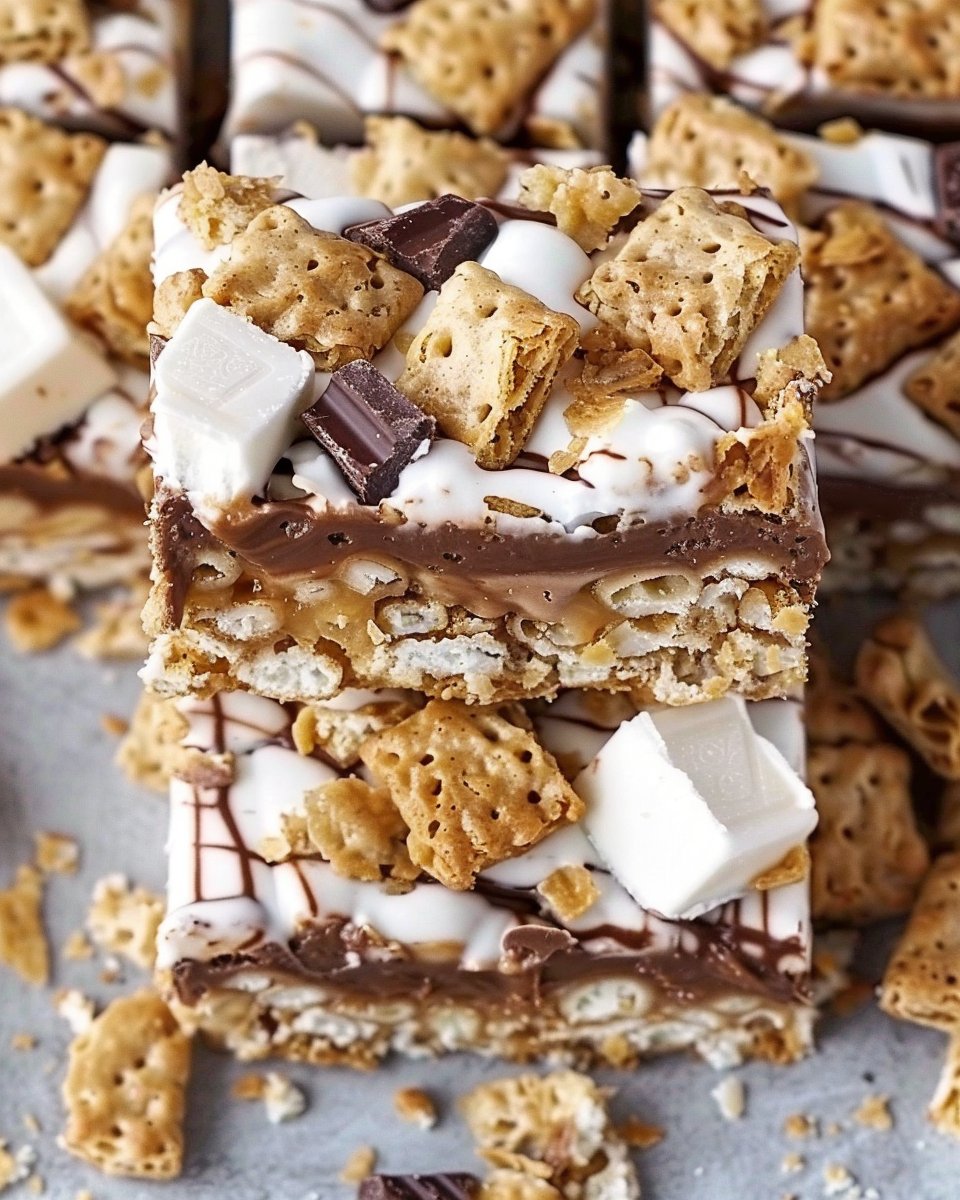
- Cool and Cut: Allow the bars to cool completely at room temperature. Once set, cut them into squares and serve!
Pro Tips for Perfect Bars Every Time
- Don’t Overheat: Keep a close eye while melting the marshmallows and butter. Too much heat can burn them and ruin the texture.
- Press Gently: When packing the mixture into the dish, don’t press too hard; this can make the bars too dense.
- Storage: Store your S’mores Krispie Bars in an airtight container at room temperature for up to a week. They can also be refrigerated for a softer, chewy bite.
Common Mistakes to Avoid
While making s’mores krispie bars is simple, a few pitfalls can lead to less-than-ideal results:
- Using Too Much Butter: While butter adds flavor, too much can make the bars greasy.
- Not Mixing Quickly Enough: The marshmallow mixture will cool and harden rapidly. Make sure to add the cereal and chocolate quickly.
- Attempting to Rush the Cooling: Letting the bars cool completely is key; cutting them too soon will lead to messy, unappetizing bars.
Fun Variations to Try
Once you’ve mastered the basic recipe, it’s time to get creative! Here are a few ideas to switch things up:
- Nutty Version: Add chopped nuts or Nutella to the mixture for a chocolate-nut twist.
- Reese’s Treat: Replace the chocolate pieces with peanut butter cups for a delectable twist on the original.
- Seasonal Flavors: Experiment with different flavored marshmallows like mint or pumpkin spice, especially around the holidays.
Serving Ideas
These bars are perfect for various occasions. Here are some suggestions:
- Picnics: Pack them for a sweet treat; they travel well!
- Parties: Cut them into bite-sized squares for guests to enjoy as finger food.
- Movie Nights: Pair them with popcorn for a nostalgic movie marathon experience.
FAQs About S’mores Krispie Bars
1. Can I use regular Rice Krispies instead of Golden Grahams?
Absolutely! While Golden Grahams enhance the flavor, regular Rice Krispies will work just fine.
2. How do I prevent my S’mores Krispie Bars from being too sticky?
Make sure to grease your pan well, and consider mixing in more cereal to balance the marshmallow mixture if necessary.
3. How long do S’mores Krispie Bars stay fresh?
They can last up to a week in an airtight container at room temperature. If refrigerated, they can last a bit longer but might become softer.
4. What’s the best way to cut the bars neatly?
Use a sharp knife, and spray it with cooking spray to make cutting easier without sticking.
5. Can I freeze S’mores Krispie Bars?
Yes! To freeze, wrap them tightly in plastic wrap and place them in an airtight container. They’ll be best enjoyed within three months.
6. What if I can’t find mini marshmallows?
You can substitute with regular marshmallows; just cut them into smaller pieces before mixing.
In Closing
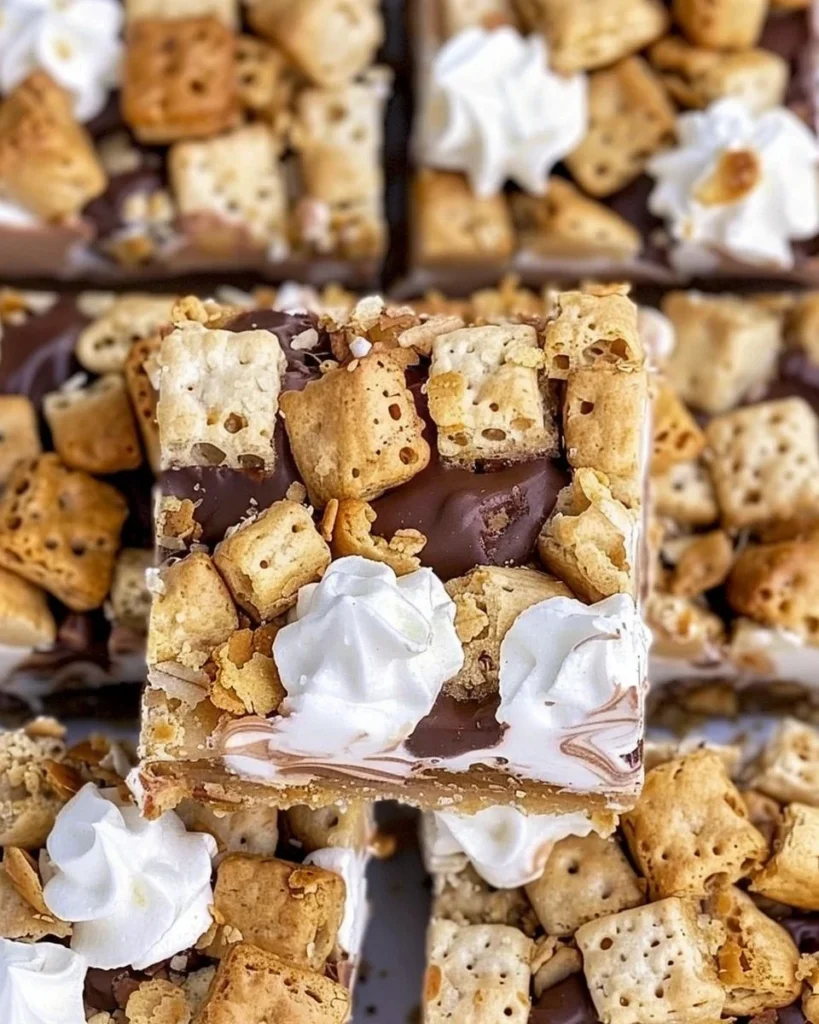
S’mores Krispie Bars are the perfect blend of nostalgia and convenience, offering a delicious way to enjoy the classic flavors of s’mores without needing a campfire. Whether you choose to stick with the traditional recipe or experiment with your own variations, these bars are sure to become a staple snack in your home. So gather your ingredients, bring your loved ones together, and create memories with each gooey, crispy bite!
S’mores Krispie Bars
Ingredients
Method
- Grease a 9x13 inch baking dish with butter or cooking spray to prevent sticking.
- In a large saucepan, melt the butter over medium heat. Add the bag of regular marshmallows and stir until completely melted.
- Remove the pan from the heat and quickly stir in the Golden Grahams cereal until every piece is coated.
- Gently fold in the Hershey's milk chocolate pieces, allowing them to melt slightly without losing their chunks.
- Pour the mixture into the prepared baking dish and press it firmly into an even layer.
- Sprinkle the mini marshmallows on top and lightly press them into the surface.
- Allow the bars to cool completely at room temperature before cutting into squares.