Indulge Your Senses with Classic Crème Brûlée
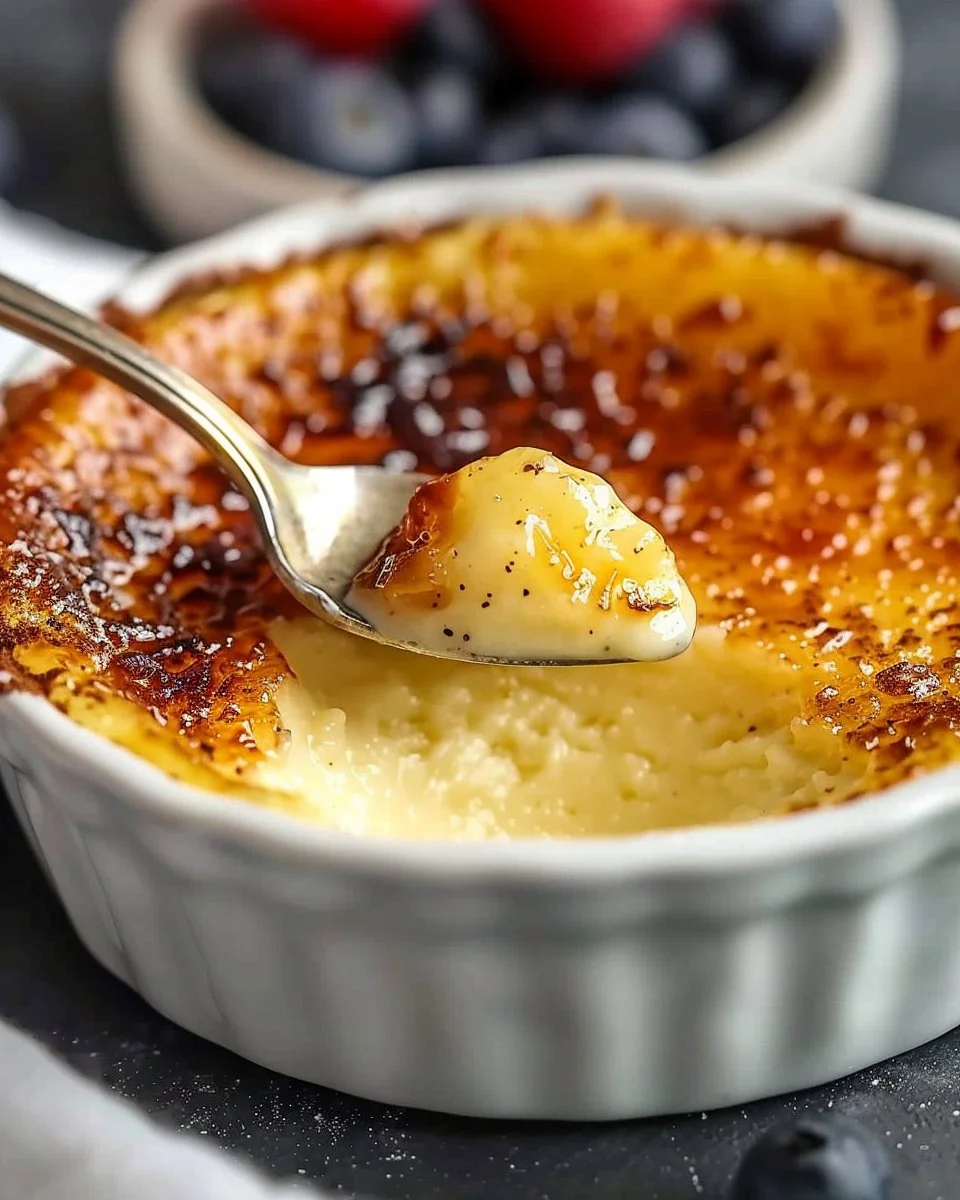
Ah, the classic crème brûlée—a dessert that feels like a hug for your taste buds. With its silky smooth custard base and that satisfying crack of burnt sugar on top, it’s a delightful combination of textures and flavors that ticks all the right boxes. Perhaps you’ve savored it at a fine dining restaurant or wanted to impress loved ones at dinner. Regardless of your journey, the allure of mastering this classic dessert at home is irresistible. But why does this velvety treat capture our hearts? Let’s explore the essence of crème brûlée, its undeniable charm, and how you can create it in your own kitchen.
What Makes Crème Brûlée So Special?
Crème brûlée is more than just a dessert; it’s an experience. The smooth, rich custard contrasts beautifully with the brittle caramel topping, creating an intriguing interplay of textures. Celebrated for its simplicity adorned with only a few ingredients, this French classic has stood the test of time. It’s a canvas for creativity, allowing variations that can incorporate different flavors, like citrus, espresso, or chocolate. Yet, at its core, the classic version is beloved for its pure, simple elegance.

Ingredients for the Perfect Classic Crème Brûlée
To achieve that iconic crème brûlée consistency, you’ll need just a handful of quality ingredients. Here’s what you’ll need:
- 2 cups heavy cream
- 1 vanilla bean (or 1 teaspoon vanilla extract)
- 5 large egg yolks
- 1/2 cup granulated sugar
- 1/4 cup sugar for caramelizing on top
These ingredients come together beautifully, creating a dessert that feels luxurious yet is surprisingly approachable for home cooks.
Step-by-Step Guide to Mastering Classic Crème Brûlée
Creating your own crème brûlée may seem daunting, but the process is quite straightforward. Follow these steps, and you’ll find yourself basking in the praise of your delighted friends and family.
- Preheat Your Oven: Start by preheating your oven to 325°F (160°C). This will prepare your oven for the delicate cooking process.
- Prepare the Cream: In a saucepan over medium heat, combine the heavy cream and the seeds scraped from the vanilla bean (or the vanilla extract). Heat just until it starts to simmer, then remove from the heat.
- Mix the Egg Yolks and Sugar: In a bowl, whisk together the egg yolks and granulated sugar until the mixture is pale and thick.
- Combine Cream with Egg Mixture: Gradually pour the warm cream into the egg yolk mixture, stirring constantly to prevent the yolks from cooking.
- Strain the Mixture: For an ultra-smooth custard, strain the mixture through a fine mesh sieve into a clean bowl.
- Pour into Ramekins: Divide the custard mixture among individual ramekins, filling them about 3/4 full. Place the ramekins in a large baking dish and carefully fill the dish with boiling water until it reaches halfway up the sides of the ramekins.
- Bake: Bake for about 30-40 minutes, or until the edges are set but the center still has a slight jiggle. The custard will continue to cook after being removed from the oven, achieving the perfect texture.
- Chill: Once baked, remove the ramekins from the water bath and let them cool at room temperature. Then refrigerate for at least 2 hours, or overnight for optimal flavor development.
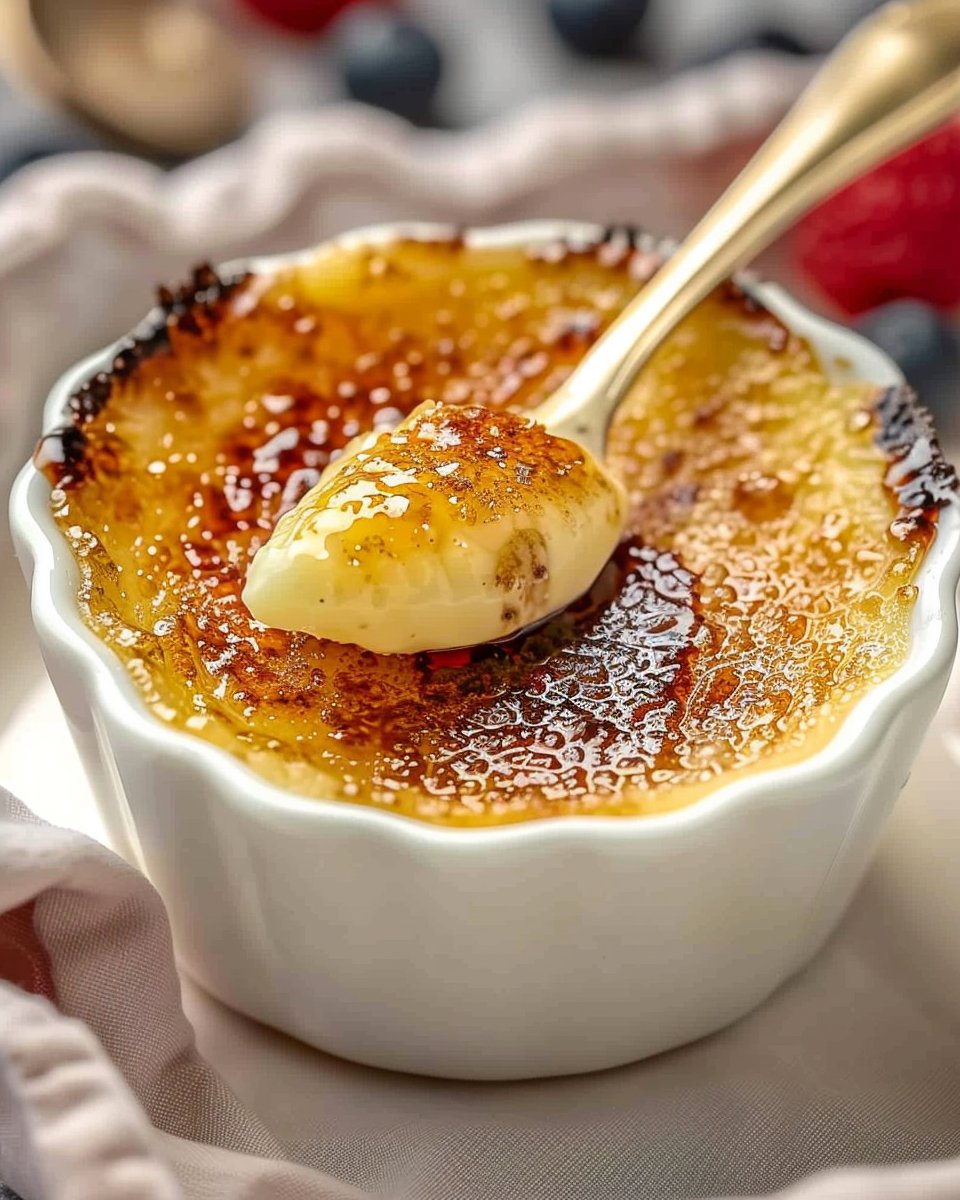
- Caramelize the Sugar: Before serving, sprinkle a thin layer of sugar on top of each custard. Use a kitchen torch to caramelize the sugar until it turns a golden brown. Alternatively, place the ramekins under a broiler for a couple of minutes but keep a close eye on them to prevent burning.
Expert Tips for Crème Brûlée Success
- Quality Ingredients Matter: Since crème brûlée only contains a few components, using high-quality ingredients will yield the best results. Opt for real vanilla bean when possible for a richer taste.
- Avoid Overcooking: Overbaking can lead to a rubbery texture. The custard should be set around the edges but still jiggly in the center.
- Proper Storage: Keep your crème brûlée in the fridge covered with plastic wrap but wait to caramelize the sugar until just before serving to maintain its crunchy texture.
Creative Variations to Try
Once you’ve perfected the classic version, get adventurous! Here are some ideas to inspire your next culinary endeavor:
- Citrus Crème Brûlée: Add a zest of lemon, lime, or orange for a refreshing citrus twist.
- Chocolate Crème Brûlée: Stir in melted dark chocolate into your custard mixture for a decadent dessert.
- Coffee Crème Brûlée: Incorporate brewed espresso or coffee grounds for an energizing version perfect for coffee lovers.
Common Mistakes to Avoid
- Skipping the Water Bath: A water bath is crucial for even cooking and preventing the custard from curdling. Don’t skip this step!
- Not Straining the Mixture: Straining helps eliminate lumps and keeps your custard smooth.
- Using Too Much Sugar for Caramelizing: A thin layer is key to achieving that perfect crack without an overwhelming sweetness.
Serving Suggestions
Crème brûlée is a showstopper on its own, but you can elevate the experience further by serving it alongside fresh berries or a dollop of whipped cream. For a fun pairing, consider offering a small glass of dessert a rich espresso.
Frequently Asked Questions About Classic Crème Brûlée
What is the difference between traditional crème brûlée and other custard desserts?
Traditional crème brûlée features a rich, cream-based custard that is topped with a hard, caramelized sugar crust. Other custard desserts, like flan, typically have a softer, caramel sauce rather than a sugar crust.
Can I make crème brûlée without a kitchen torch?
Yes! If you don’t have a torch, you can use the broiler setting in your oven to caramelize the sugar. Just watch it closely to avoid burning.
How long can I store crème brûlée in the fridge?
Crème brûlée can last up to 3 days in the fridge as long as it’s stored properly in an airtight container. Remember to caramelize the sugar just before serving for the best texture.
What’s the best way to achieve a smooth custard in crème brûlée?
Straining the custard mixture after combining the cream and eggs will help eliminate any lumps, ensuring a silky texture.
Can I use flavored extracts for a twist on classic crème brûlée?
Absolutely! Vanilla is traditional, but almond, hazelnut, or even mint extracts can add a unique flavor while still maintaining that classic creaminess.
How do I know when my crème brûlée is done baking?
The edges should be set, while the center should still have a slight jiggle. It will firm up as it cools in the refrigerator.
Cherishing the Sweet Simplicity
In the grand tapestry of desserts, classic crème brûlée holds a special place. Its elegance and complexity belied by a straightforward process make it a hot favorite for both novice bakers and seasoned chefs alike. Now that you’re equipped with knowledge and a foolproof guide, why not bring this timeless classic into your home?
Every spoonful of creamy custard paired with that satisfying crunch reminds us of life’s simple pleasures—shared moments, laughter, and the joy of creating something beautiful from scratch. So, don your apron and get cracking; your classic crème brûlée journey awaits!
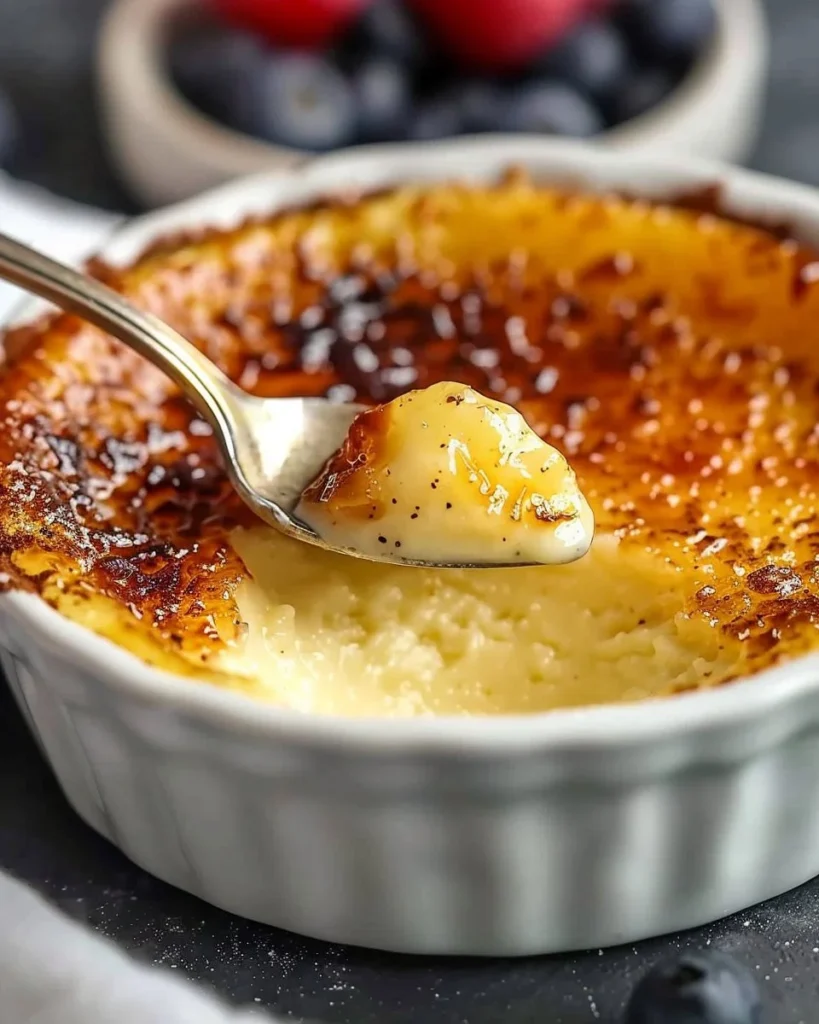
Classic Crème Brûlée
Ingredients
Method
- Preheat your oven to 325°F (160°C).
- In a saucepan over medium heat, combine the heavy cream and the seeds scraped from the vanilla bean (or the vanilla extract) and heat until it starts to simmer, then remove from the heat.
- In a bowl, whisk together the egg yolks and granulated sugar until pale and thick.
- Gradually pour the warm cream into the egg yolk mixture, stirring constantly.
- Strain the mixture through a fine mesh sieve into a clean bowl.
- Divide the custard mixture among individual ramekins, filling them about 3/4 full.
- Place the ramekins in a large baking dish and fill the dish with boiling water until it reaches halfway up the sides of the ramekins.
- Bake for about 30-40 minutes, or until the edges are set but the center still jiggles.
- Remove the ramekins from the water bath and let cool at room temperature, then refrigerate for at least 2 hours.
- Before serving, sprinkle a thin layer of sugar on top of each custard.
- Use a kitchen torch to caramelize the sugar until golden brown, or place under a broiler for a couple of minutes, keeping a close watch.