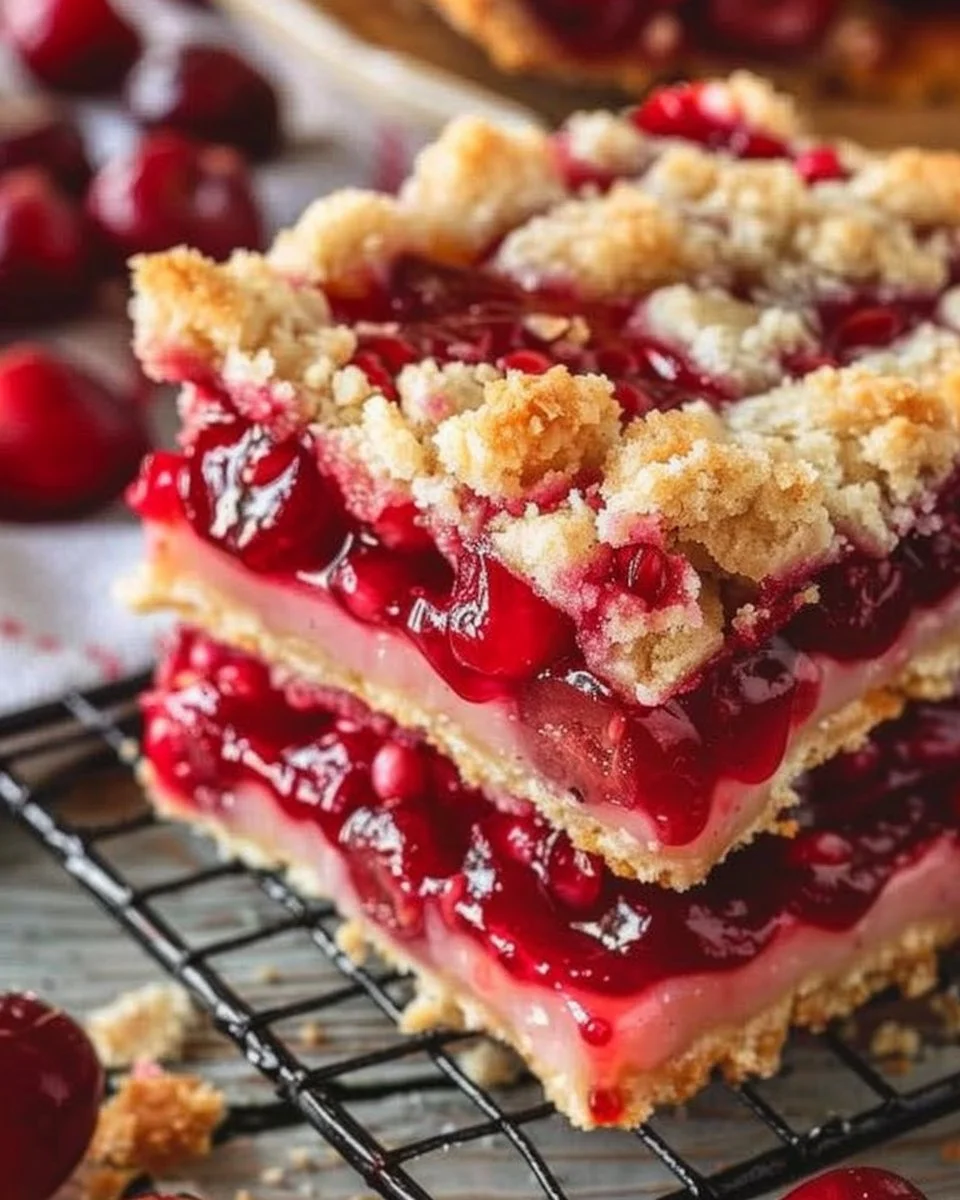
The Irresistible Delight of Cherry Pie Bars
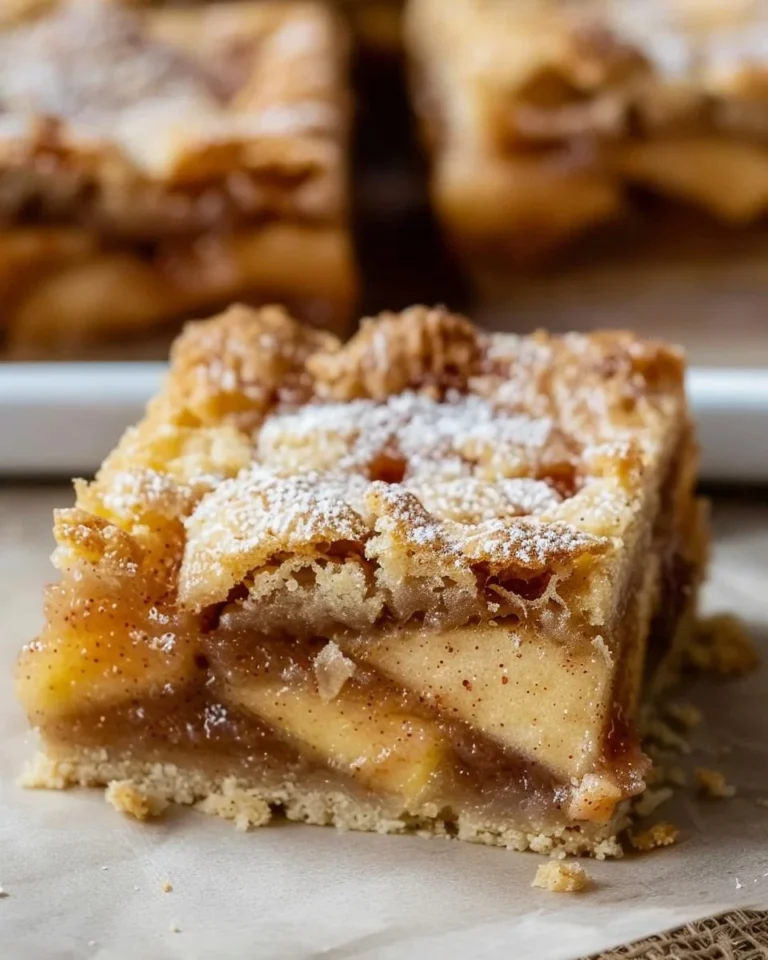
When the craving for sweet and tart piques, there’s nothing quite like the comforting allure of cherry pie. But what if I told you there’s a more portable version that packs all the deliciousness of that classic dessert into easy-to-eat bars? Cherry pie bars are the perfect blend of buttery crust, luscious cherry filling, and a crunchy topping that makes them a delightful treat for any occasion. In this article, we’ll dive into everything you need to know about cherry pie bars, from the ingredients to pro tips for baking them to perfection.
Why Cherry Pie Bars Are a Must-Try
Cherry pie bars are more than just a dessert; they’re an emotion wrapped in a chewy crust. Whether you’re reminiscing about summer picnics or looking for a fun way to impress guests at brunch, these bars bring a sense of nostalgia and comfort. Unlike traditional pie, these bars are easy to slice and serve, making them perfect for gatherings, bake sales, or simply satisfying your sweet tooth.
Key Benefits of Making Cherry Pie Bars
- Simplicity: The preparation involves straightforward steps that yield impressive results, making them ideal for both novice and experienced bakers.
- Versatility: You can customize the filling based on your preferences—think of using different fruits or even chocolate!
- Portability: Unlike a traditional pie, bars can be cut into portions, making them perfect for lunchboxes or picnics.
What You Need to Get Started
To whip up these delectable cherry pie bars, gather the following ingredients:
- 1 cup unsalted butter, softened
- 1 cup granulated sugar
- 2 cups all-purpose flour
- 1/2 teaspoon salt
- 1 can (21 oz) cherry pie filling
- 1/2 cup rolled oats
- 1/2 cup brown sugar
- 1/2 teaspoon cinnamon
- 1/2 cup powdered sugar
- 1-2 tablespoons milk (for glaze)
Step-by-Step Guide to Making Cherry Pie Bars
Baking your cherry pie bars from scratch is easier than you might think. Follow this straightforward guide to create a batch that will have everyone asking for seconds.
- Preheat Your Oven: Start by preheating your oven to 350°F (175°C). This ensures that your bars cook evenly from the moment they go in.
- Prepare Your Baking Dish: Grease a 9×13 inch baking dish or line it with parchment paper for easy removal after baking.
- Make the Crust: In a mixing bowl, cream together the softened butter and granulated sugar until light and fluffy. Gradually add the flour and salt until a dough forms.
- Press the Dough: Press about two-thirds of the dough into the bottom of your prepared baking dish. This will be the base of your pie bars.
- Layer the Cherry Filling: Spread the cherry pie filling evenly over the crust.
- Create the Topping: In another bowl, combine the remaining crust mixture with oats, brown sugar, and cinnamon. Sprinkle this mixture over the cherry filling, ensuring it’s evenly distributed.
- Bake: Bake in the preheated oven for 30 to 35 minutes, or until the top is golden brown and the filling is bubbly.
- Cool and Glaze: Let your bars cool completely in the baking dish. For a finishing touch, whisk together powdered sugar and milk to create a glaze, then drizzle it over the cooled bars.
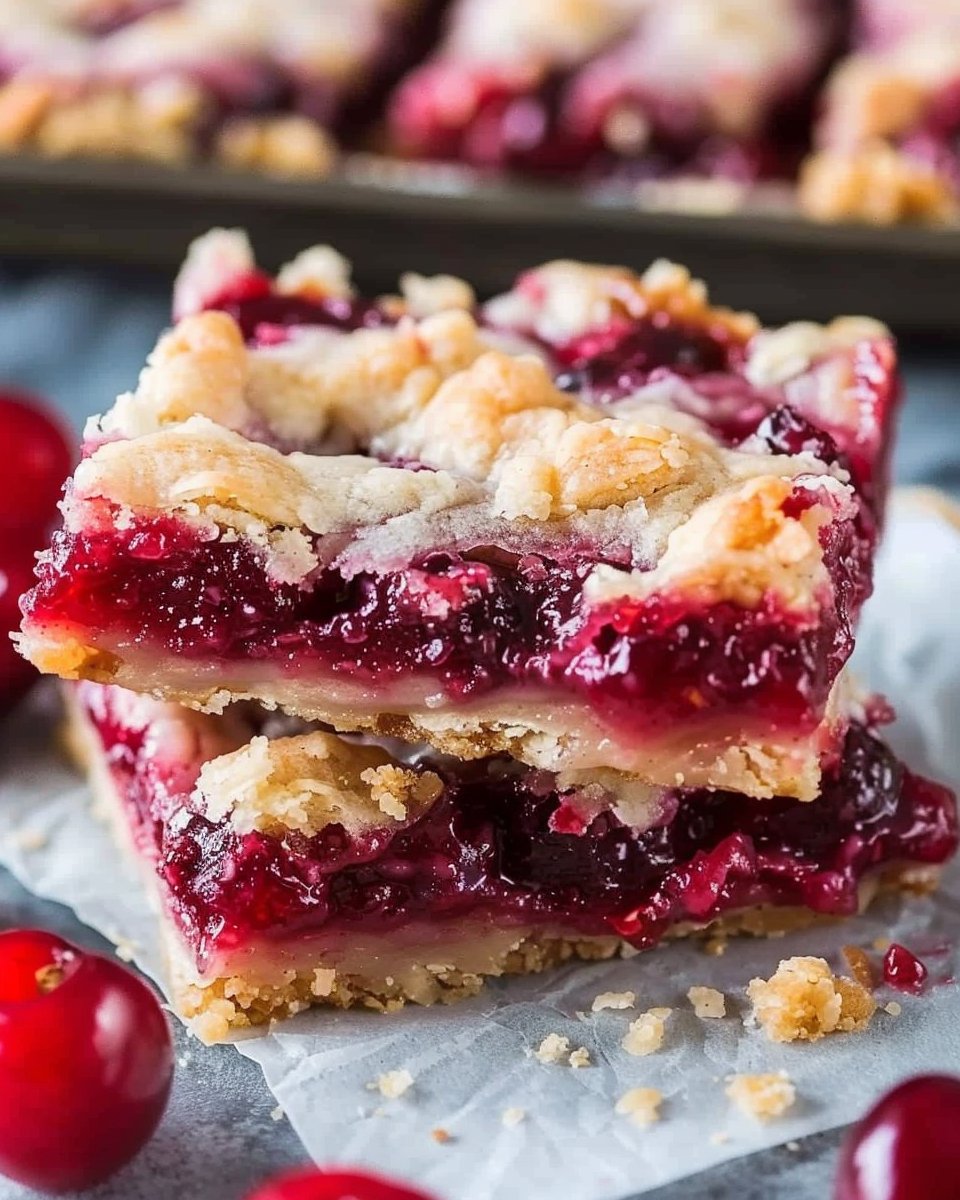
Common Mistakes to Avoid
- Not Cooling the Bars: Allowing your bars to cool before cutting them ensures cleaner slices and a better overall texture.
- Overbaking: Keep an eye on your bars; overbaking can dry them out. It’s better to check a few minutes early!
- Skipping the Glaze: While optional, the glaze adds a sweet touch that beautifully complements the tart cherry filling.
Pro Tips for Perfect Cherry Pie Bars
- Use Fresh Cherries: If you’re looking to elevate your cherry pie bars, opt for fresh cherries instead of canned filling. Just make sure to pit and slice them correctly.
- Try a Shortbread Base: For a richer flavor, experiment with a shortbread crust instead of a regular pie crust.
- Perfect Pairing: Pair your cherry pie bars with vanilla ice cream or a dollop of whipped cream for an indulgent dessert experience.
Alternatives to Cherry Pie Bars
Not a fan of cherries? No problem! Here are a few variations you might enjoy:
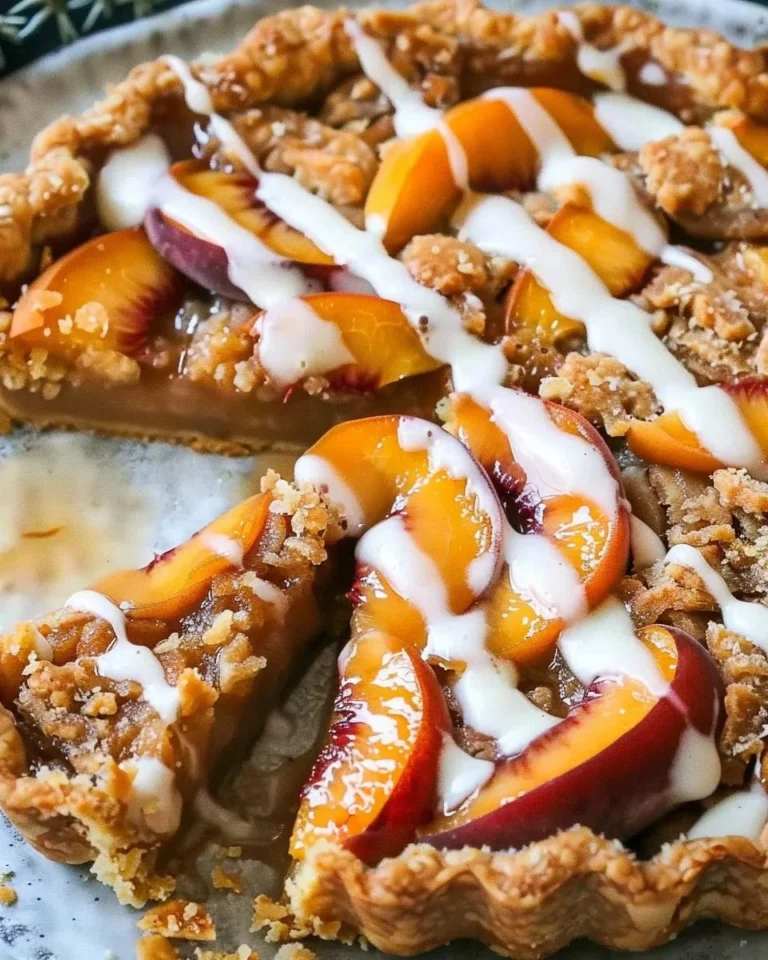
- Berry Bars: Substitute with blueberries or raspberries for a summer twist.
- Apple Crisp Bars: Use diced apples in place of cherries and add cinnamon and nutmeg for that classic apple pie flavor.
- Chocolate Chip Cherry Bars: Fold in some chocolate chips with the cherry filling for an enticing combination.
Serving Ideas for Your Cherry Pie Bars
- After School Snack: Cut them into smaller squares for kid-friendly treats.
- Dessert for Gatherings: Serve warm with ice cream at a weekend BBQ or family gathering.
- Breakfast Treat: Enjoy a piece with your morning coffee or tea for a delightful breakfast.
FAQs about Cherry Pie Bars
1. What are cherry pie bars?
Cherry pie bars are a portable dessert that combines a buttery crust, cherry pie filling, and a crumbly topping, making them easy to slice and serve.
2. Can I use frozen cherries instead of canned filling?
Absolutely! Just make sure to thaw and drain any excess liquid before using them.
3. How do I store leftover cherry pie bars?
Store your bars in an airtight container at room temperature for up to 3 days, or refrigerate for longer freshness.
4. Can I add nuts to cherry pie bars?
Yes! Chopped nuts can add a delightful crunch. Just fold them into the topping mixture before baking.
5. Are cherry pie bars gluten-free?
To make gluten-free cherry pie bars, substitute regular flour with a gluten-free blend.
Wrapping It Up
Cherry pie bars are more than just a sweet treat; they’re a delightful experience filled with flavor and nostalgia. Perfect for any occasion, they meld convenience and deliciousness seamlessly. With this guide, you’re set to impress friends and family with your foolproof cherry pie bars. Whether you stick to the classic recipe or try fun variations, you’re bound to enjoy every bite. Happy baking!
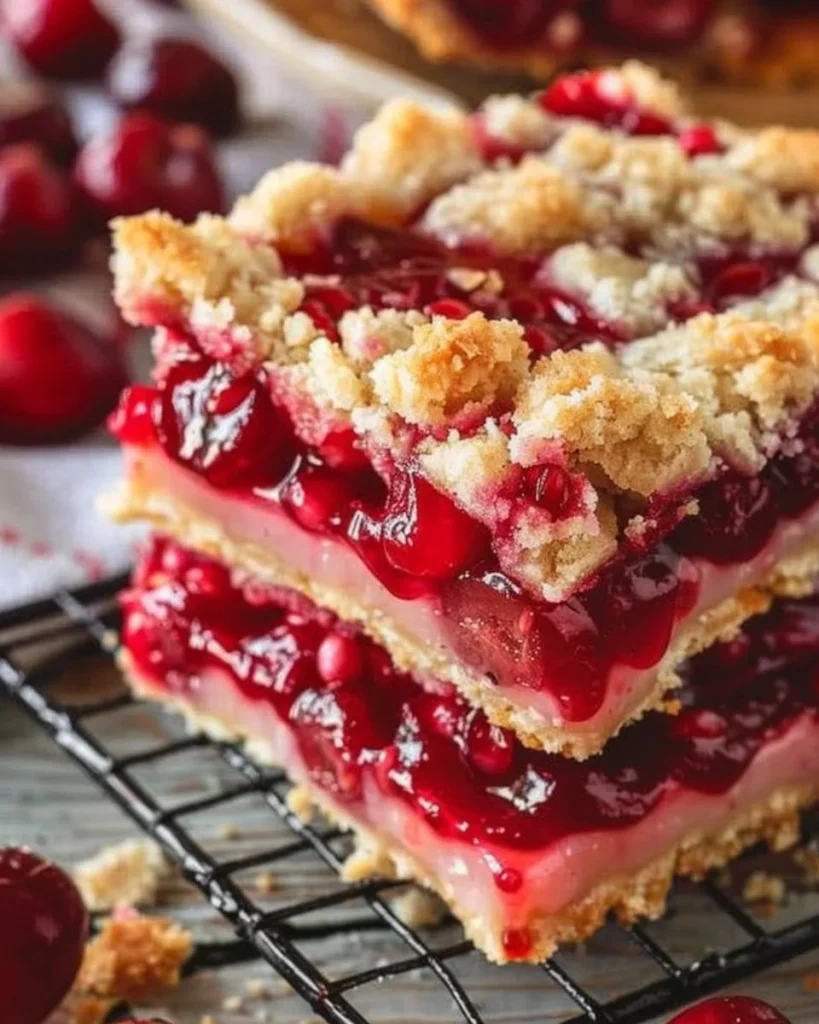
Cherry Pie Bars
Ingredients
Method
- Preheat your oven to 350°F (175°C).
- Grease a 9×13 inch baking dish or line it with parchment paper.
- In a mixing bowl, cream together the softened butter and granulated sugar until light and fluffy.
- Gradually add the flour and salt until a dough forms.
- Press about two-thirds of the dough into the bottom of your prepared baking dish.
- Spread the cherry pie filling evenly over the crust.
- In another bowl, combine the remaining dough with oats, brown sugar, and cinnamon. Sprinkle this mixture over the cherry filling.
- Bake in the preheated oven for 30 to 35 minutes, or until the top is golden brown and the filling is bubbly.
- Let your bars cool completely in the baking dish.
- Whisk together powdered sugar and milk to create a glaze, then drizzle it over the cooled bars.