Indulge in a Copycat Starbucks Cake Pop Recipe
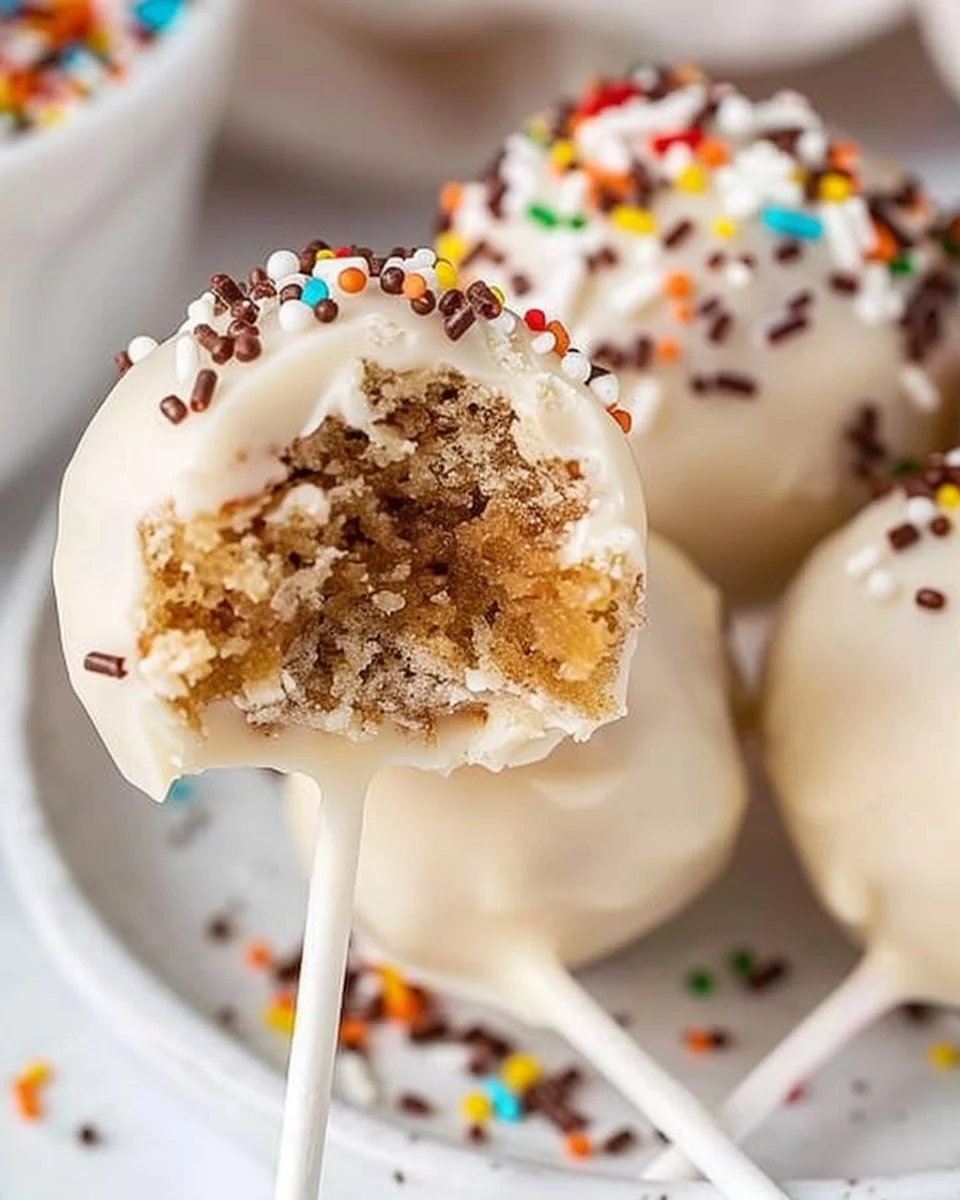
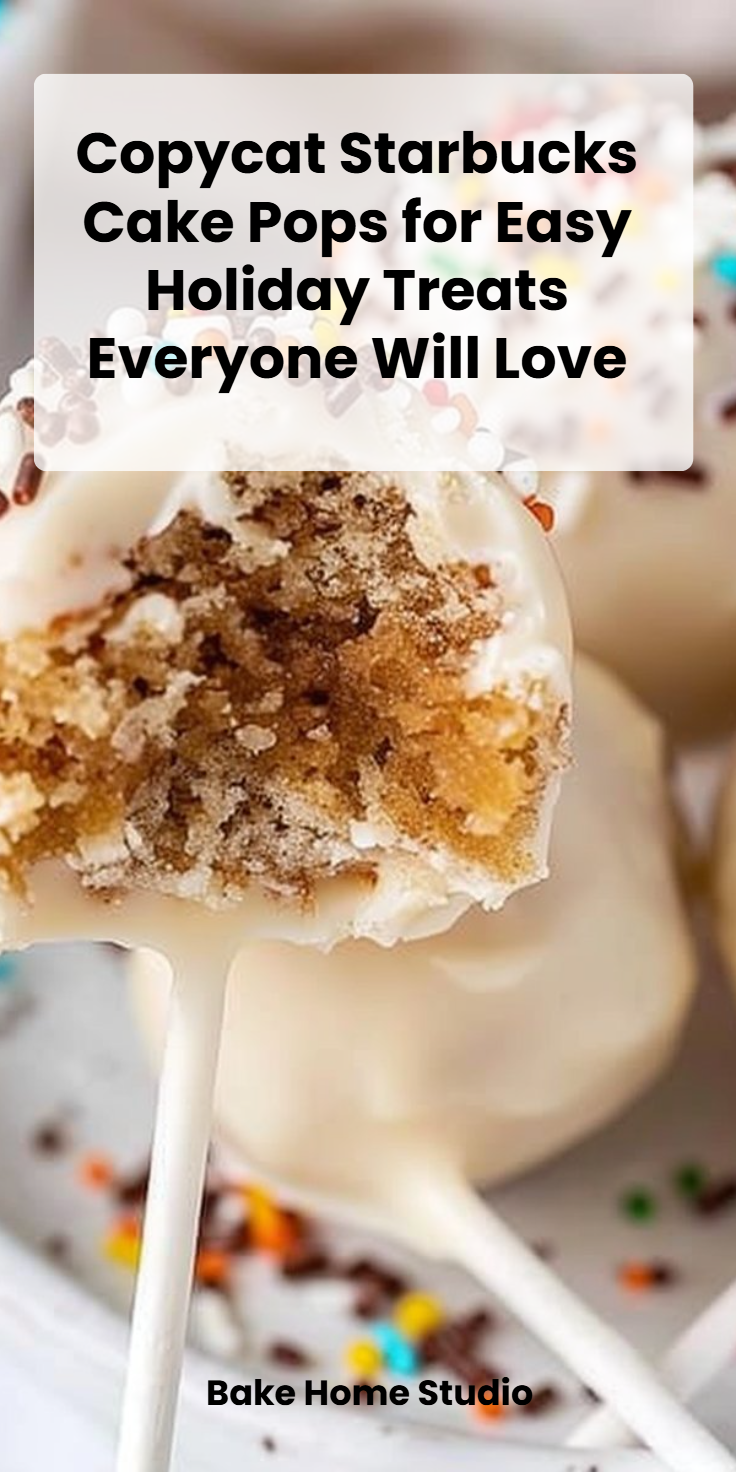
If you’ve ever stood in line at Starbucks, tantalized by the vibrant cake pops rotating in their display, you know just how irresistible they can be. These little bites of heaven are not just aesthetically pleasing; they pack a punch of flavor that can brighten even the dullest of days. But what if you could replicate that delightful experience right in your kitchen? Well, you can! This Copycat Starbucks Cake Pop Recipe will guide you through creating your very own cake pops that are just as delicious and fun to make. Get ready to impress friends and family with these confectionary wonders!
Why Cake Pops Bring Joy
Cake pops are not just desserts; they are an experience. They come in various flavors and designs, each bite bursting with sweetness. Whether it’s a birthday party, a casual afternoon snack, or a cozy get-together, cake pops are perfect for any occasion. Plus, they make for wonderfully creative gifts! Crafting these treats yourself not only saves money but also allows you to customize them to your liking.
What You’ll Need to Create Cake Pops
To embark on this sweet adventure, you’ll need a few essential ingredients and tools. Thankfully, these items are commonly found in your kitchen or at your local grocery store:
- 1 15.25 box vanilla cake mix (baked according to directions)
- 4 tablespoons salted butter (softened)
- 1 cup powdered sugar
- 1 tablespoon heavy cream (or milk)
- ½ teaspoon vanilla extract
- 24 cake pop sticks
- 12 ounces white chocolate (divided into 4 and 8 oz portions)
- Sprinkles (for decoration)
Step-by-Step Guide to Mastering Cake Pops
Making cake pops can be broken down into simple, manageable steps. With a bit of patience and creativity, you will have your cake pops ready in no time.
- Bake the Cake: Preheat your oven and prepare the cake mix according to the package instructions. Once baked, let it cool entirely.
- Crumble the Cake: After the cake has cooled, crumble it into a large bowl. Your goal is to achieve a fine crumb that will hold together when mixed.
- Mix with Butter and Sugar: Add the softened butter, powdered sugar, heavy cream, and vanilla extract to the crumbled cake. Mix it well until the ingredients are fully incorporated. The mixture should be moist yet firm.
- Shape the Balls: Take small amounts of the mixture and roll them into 1-inch balls. Place them on a baking sheet lined with parchment paper. Refrigerate for about 30 minutes to firm them up.
- Melt the Chocolate: While the cake balls chill, melt the 4-ounce portion of white chocolate in a microwave-safe bowl. Heat it in intervals, stirring in between until smooth.
- Insert the Sticks: Dip each stick about half an inch into the melted chocolate, then insert it into the center of each cake ball. This will help the stick adhere firmly to the cake pops.
- Cover with Chocolate: Once the sticks are in place, dip each cake pop into the melted white chocolate, making sure they are completely coated. Allow any excess chocolate to drip off.
- Decorate: Before the chocolate sets, sprinkle with your favorite toppings. Pop these colorful creations into Styrofoam or a cake pop holder to keep them upright while they set.
- Final Chill: Let the cake pops sit at room temperature until the chocolate hardens completely. You can also refrigerate them again for quicker setting.
Expert Tips for Perfect Cake Pops
- Cake Texture Matters: For a moist cake pop, ensure your cake is baked to perfection — overbaking can lead to dry pops.
- Use Quality Ingredients: The flavor of your cake pops is directly influenced by the quality of the ingredients. Opt for real vanilla extract and high-quality chocolate.
- Experiment with Flavors: Feel free to change things up! Add cocoa powder for chocolate cake pops, or try out different flavored cake mixes.
- Be Patient: If the cake mixture crumbles, add a little more frosting or butter to bind it better.
Common Missteps to Avoid
- Too Much Frosting: While a little frosting helps bind the cake, too much can make your pops too sweet or mushy.
- Skipping Chilling: Don’t rush this step! Chilling the cake balls before dipping helps them keep their shape.
- Overheating the Chocolate: When melting chocolate, go slow and avoid overheating, which can make it unusable.
Presentation Ideas for Cake Pops
When it comes to serving these delightful treats, presentation is key. Here are some charming ideas to elevate your cake pop display:
- Candy Buffets: Add these treats to a dessert table filled with other candies, cupcakes, and snacks for a colorful assortment.
- Gift Bags: Individually wrap each cake pop in clear bags tied with ribbons for an adorable gift.
- Theme Parties: Decorate cake pops according to the party theme—think red and pink for Valentine’s Day or spooky designs for Halloween.
Storing Your Cake Pops
If you happen to have leftovers (which is rare!), these cake pops can be stored in an airtight container in the refrigerator for up to a week. For longer storage, freeze them for up to three months. Just ensure they’re in a well-sealed container to prevent freezer burn.
Is There a Healthier Way to Make Cake Pops?
For those seeking a lighter version, consider using whole wheat flour, reducing the sugar, or substituting applesauce for some of the butter. You can also explore using dark chocolate instead of white chocolate for a richer flavor and additional health benefits.
FAQs About Copycat Starbucks Cake Pop Recipe
Q: How do I make a Copycat Starbucks Cake Pop Recipe?
A: Bake a vanilla cake according to the box instructions. Crumble the cake, mix it with butter, sugar, and cream, then shape into balls and coat in melted chocolate.
Q: Can I use other flavors for cake pops?
A: Absolutely! You can experiment with chocolate, red velvet, or any flavored cake mix to customize your cake pops.
Q: How should I store my cake pops?
A: Keep them in an airtight container in the fridge for up to a week, or freeze them for up to three months.
Q: What type of chocolate is best for cake pops?
A: White chocolate is traditional for cake pops, but you can use dark or milk chocolate depending on your preference.
Q: Can I use frosting instead of butter?
A: Yes, frosting can be used as a binder instead of butter, but be cautious with the amount to maintain the right texture.
In conclusion, this Copycat Starbucks Cake Pop Recipe is not just about the end product; it’s about the joy of creation. With a few simple ingredients and a bit of creativity, you can replicate that wonderful Starbucks experience right in your home. So why not gather your ingredients and get started? You’re not just making cake pops; you’re crafting memories that will last long after the sweet treats are gone. Happy baking!
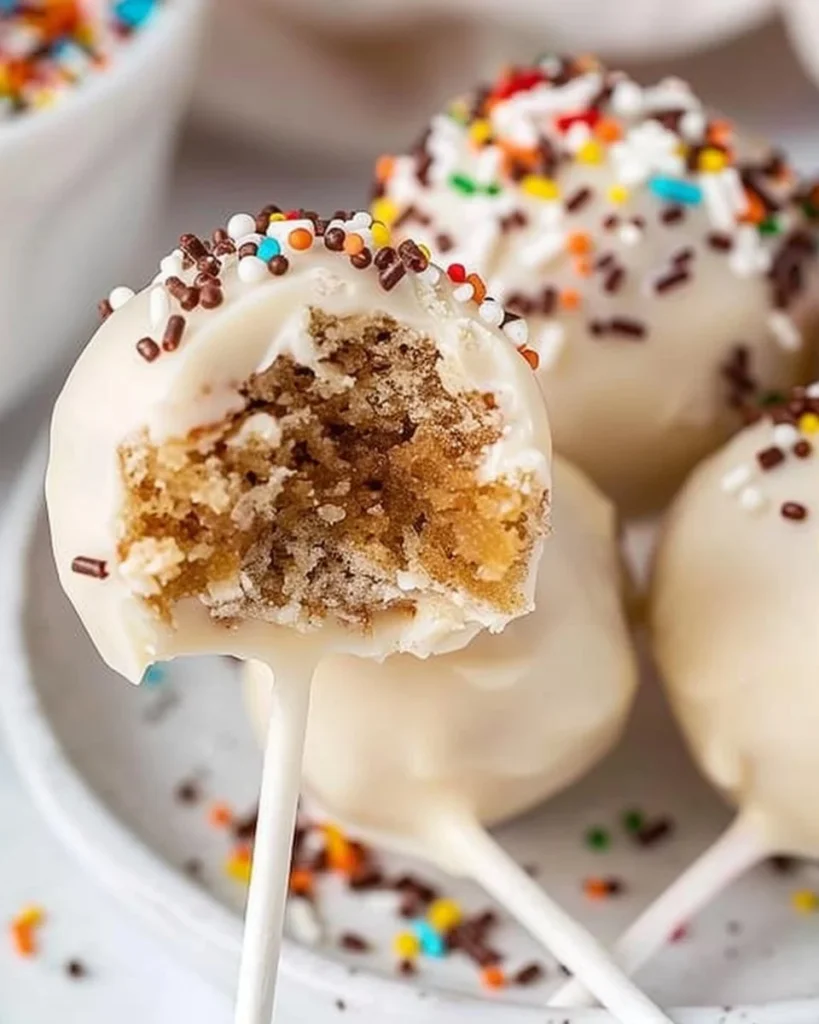
Copycat Starbucks Cake Pops
Ingredients
Method
- Preheat your oven and prepare the cake mix according to the package instructions. Once baked, let it cool completely.
- Crumble the cooled cake into a large bowl until you achieve a fine crumb.
- Add softened butter, powdered sugar, heavy cream, and vanilla extract to the crumbled cake, then mix until well combined. It should be moist yet firm.
- Roll small amounts of the mixture into 1-inch balls and place them on a baking sheet lined with parchment paper. Refrigerate for about 30 minutes.
- Melt the 4-ounce portion of white chocolate in a microwave-safe bowl. Stir at intervals until smooth.
- Dip each cake pop stick about half an inch into the melted chocolate and insert into the center of each cake ball.
- Dip each cake pop into the melted white chocolate until fully coated, allowing excess chocolate to drip off.
- Before the chocolate sets, decorate with your favorite sprinkles.
- Place the cake pops upright in Styrofoam or a cake pop holder to set while the chocolate hardens.
- Let the pops sit at room temperature until the chocolate is completely hard, or refrigerate for quicker setting.