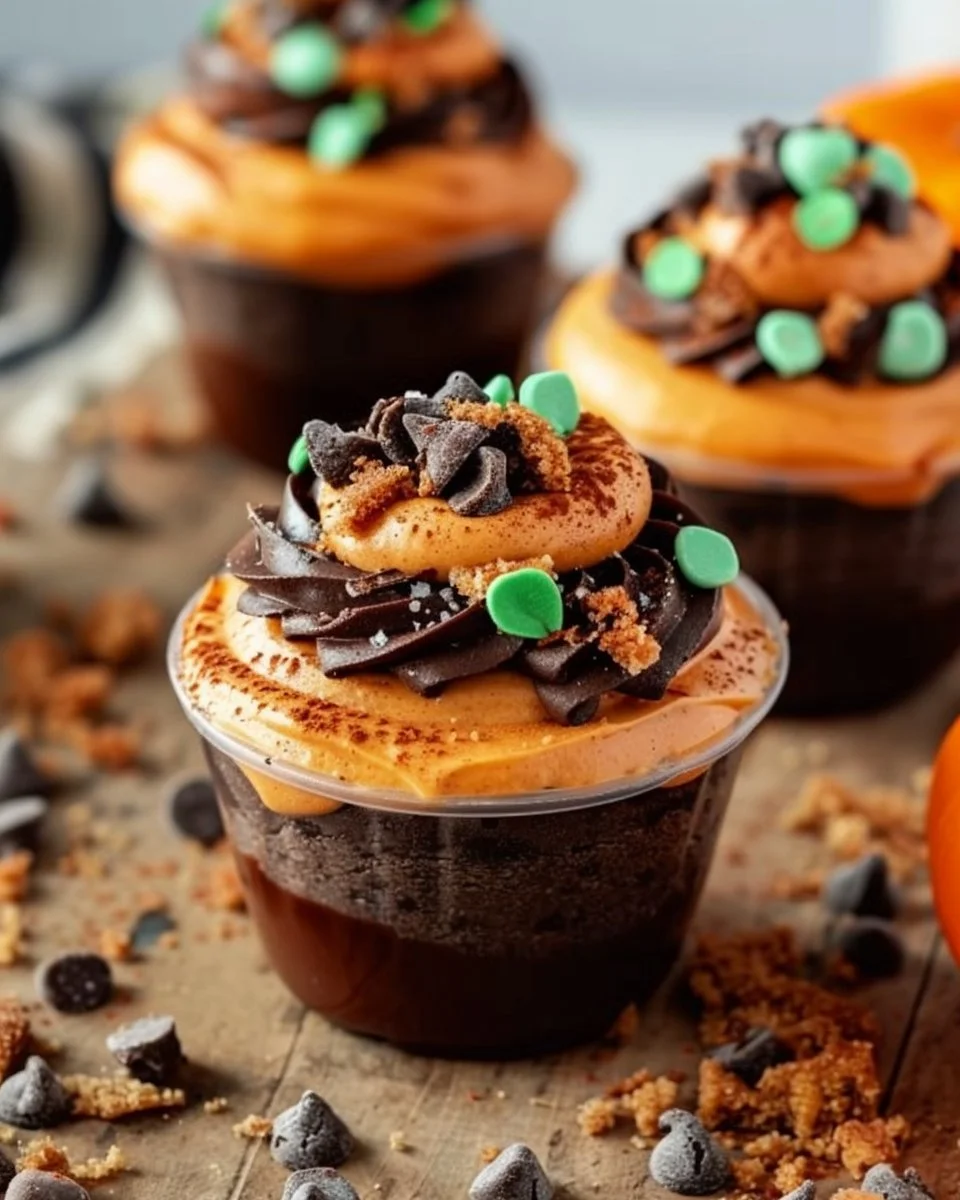
Dive into Delight: Pumpkin Dirt Cups
As the leaves turn and the air cools, fall brings with it not just sweater weather, but an array of delicious flavors. Among them, pumpkin reigns supreme. If you’re looking for a fun and festive treat that will elicit smiles and a hint of nostalgia, look no further than Pumpkin Dirt Cups. These layered desserts are perfect for gatherings, parties, or simply a cozy night in. Their delightful combination of creamy pumpkin, rich chocolate, and crumbly cookies makes them an irresistible fall favorite!
Why Pumpkin Dirt Cups Matter
Why should you add Pumpkin Dirt Cups to your seasonal dessert lineup? For several reasons! Firstly, they are a delightful blend of flavors that cater to both chocolate lovers and pumpkin enthusiasts. Secondly, they’re incredibly easy to prepare, making them a fantastic option even for novice bakers. Lastly, they evoke a sense of whimsy and creativity—who can resist a dessert that invites you to get a bit messy?
What You’ll Need to Create Pumpkin Dirt Cups
Before diving into the recipe, let’s gather the essentials. Here’s a list of the basic ingredients that make up these charming dessert cups:
- 1 package of chocolate pudding mix
- 2 cups of milk
- 1 cup of whipped topping
- 1 package of Oreo cookies
- 1 cup of canned pumpkin puree
- 1 teaspoon of pumpkin spice
- Gummy worms (for garnish)
- Small cups or jars for serving
Step-by-Step Guide to Deliciousness
Step 1: Prepare the Pudding
In a large mixing bowl, whisk together the chocolate pudding mix and milk until it thickens. This usually takes about 2 minutes. Once thickening is complete, set this bowl aside.
Step 2: Create the Pumpkin Layer
In another bowl, combine the canned pumpkin puree, whipped topping, and pumpkin spice. Mix well until it’s smooth and creamy.
Step 3: Crush the Oreos
Seal the Oreo cookies in a Ziplock bag and crush them into fine crumbs using a rolling pin or your hands. This will serve as the ‘dirt’ for your cups.
Step 4: Layer the Cups
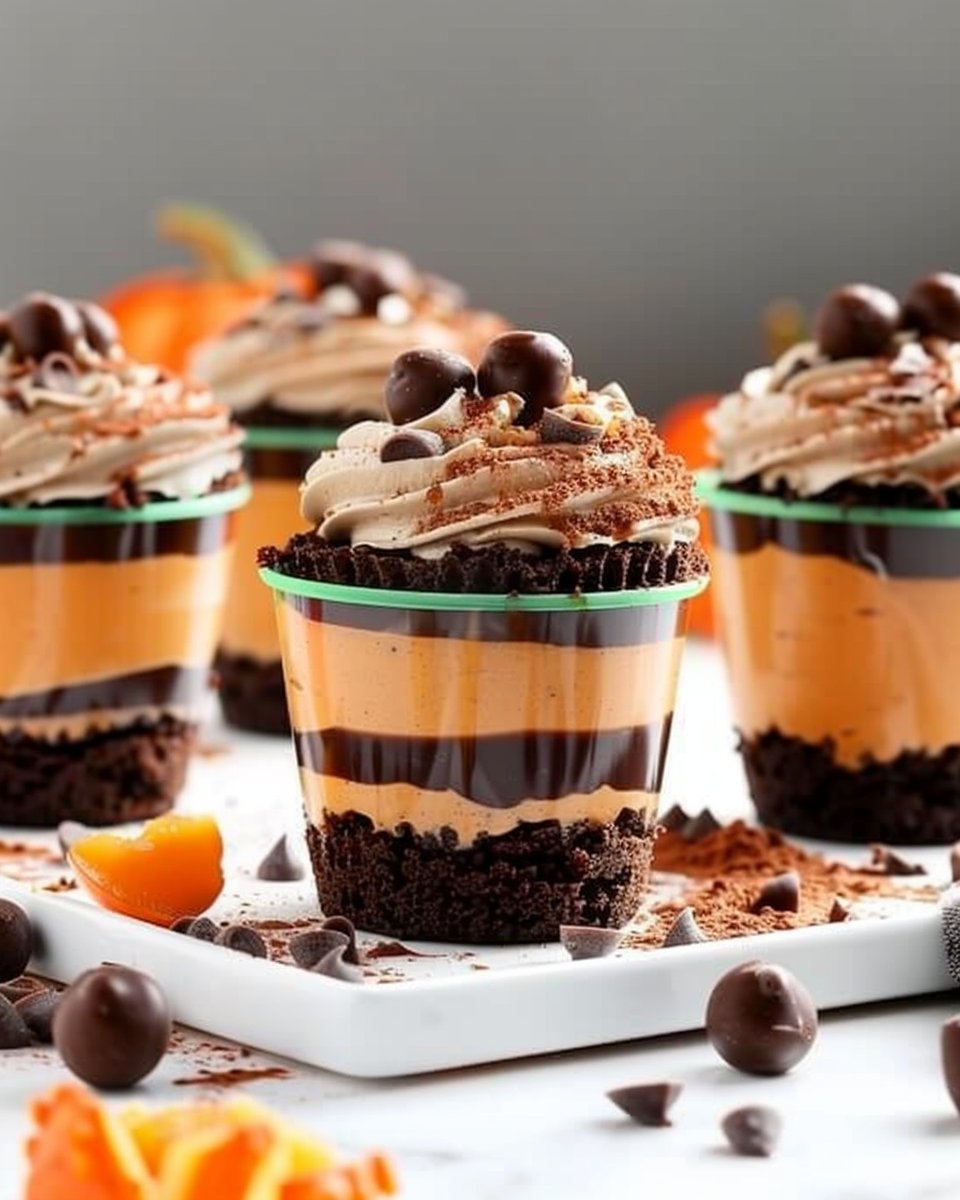
Now, it’s time to assemble! Start by adding a layer of chocolate pudding to the bottom of your cups. Follow this with a layer of the pumpkin mixture and then a layer of crushed Oreos. Repeat these layers until your cups are filled, finishing with a top sprinkle of Oreo crumbs.
Step 5: Add the Gummy Worms
Top off your dessert with a gummy worm or two for that playful touch. These little creatures add the final whimsical flair to your Pumpkin Dirt Cups.
Step 6: Chill and Serve
Refrigerate the cups for at least 2 hours before serving. This allows the flavors to meld beautifully!
Variations and Alternatives
While the classic recipe is unbeatable, feel free to get creative! Here are some fun twists you might consider:
- Swap the Cookies: Try using graham crackers instead of Oreos for a different texture and flavor.
- Add a Nutty Crunch: Incorporate chopped nuts, like pecans or walnuts, for an extra crunch in each bite.
- Vegan Option: Substitute the chocolate pudding mix with a plant-based alternative and use coconut cream instead of whipped topping.
- Layering Delight: Use layers of chocolate cake or brownies for an even richer dessert experience.
Common Pitfalls to Avoid
Creating Pumpkin Dirt Cups is usually a foolproof endeavor, but here are a few tips to avoid common mistakes:
- Don’t Skip the Chilling: Allow the cups to chill! Skipping this step can result in a less flavorful experience.
- Check for Whipped Topping: Ensure you’re using a stable whipped topping that holds its shape, or make your own.
- Fix Sogginess: If your Oreos become too soggy, try adding them in layers right before serving.
Serving Suggestions
Pumpkin Dirt Cups can be a star at various occasions! Consider these serving ideas:
- Halloween Parties: The bright orange and black themes fit perfectly with a spooky setup!
- Thanksgiving Gatherings: Delight your guests with a fun and festive way to enjoy pumpkin flavors.
- Kids’ Birthday Parties: These cups bring an element of playfulness that children adore.
FAQ about Pumpkin Dirt Cups
What are Pumpkin Dirt Cups?
Pumpkin Dirt Cups are a layered dessert that combines chocolate pudding, pumpkin puree, whipped topping, and crushed Oreos, garnished playfully with gummy worms. They’re perfect for fall festivities!
Can I make Pumpkin Dirt Cups ahead of time?
Absolutely! These cups can be assembled a day in advance. Just remember to keep them chilled in the refrigerator until it’s time to serve.
What can I substitute for the whipped topping?
You can use coconut whipped cream or homemade whipped cream for a delicious alternative.
How long do Pumpkin Dirt Cups last?
If refrigerated, Pumpkin Dirt Cups can last up to 3 days. Just ensure they are kept covered.
Can I make a healthier version of Pumpkin Dirt Cups?
Yes! You can use low-fat pudding, light whipped topping, and opt for whole-grain cookies to create a healthier version without sacrificing flavor.
Conclusion: Celebrate Fall with Pumpkin Dirt Cups
These Pumpkin Dirt Cups aren’t just a dessert; they’re a celebration of fall flavors and creativity. With their smooth pumpkin and chocolate layers, topped with playful gummy worms, they’re sure to delight anyone who takes a spoonful. So gather your ingredients, invite some friends, and dive into making these delicious treats! Whether for a small family gathering or a big festive party, these cups are a hit. Happy fall baking!
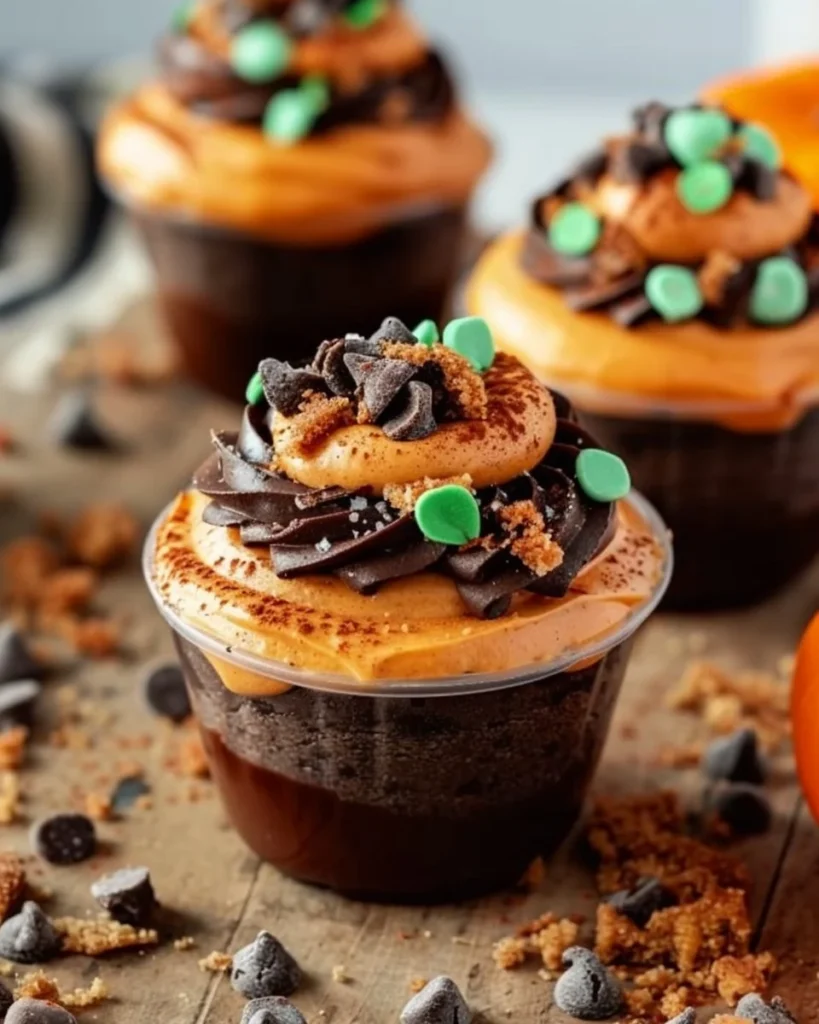
Pumpkin Dirt Cups
Ingredients
Method
- In a large mixing bowl, whisk together the chocolate pudding mix and milk until it thickens, about 2 minutes. Set aside.
- In another bowl, combine the canned pumpkin puree, whipped topping, and pumpkin spice. Mix until smooth and creamy.
- Seal the Oreo cookies in a Ziplock bag and crush them into fine crumbs using a rolling pin or your hands.
- Start by adding a layer of chocolate pudding to the bottom of small cups or jars.
- Add a layer of the pumpkin mixture, followed by a layer of crushed Oreos. Repeat these layers until the cups are filled, finishing with a sprinkle of Oreo crumbs.
- Top off each dessert with a gummy worm for a playful touch.
- Refrigerate the cups for at least 2 hours before serving to let the flavors meld.