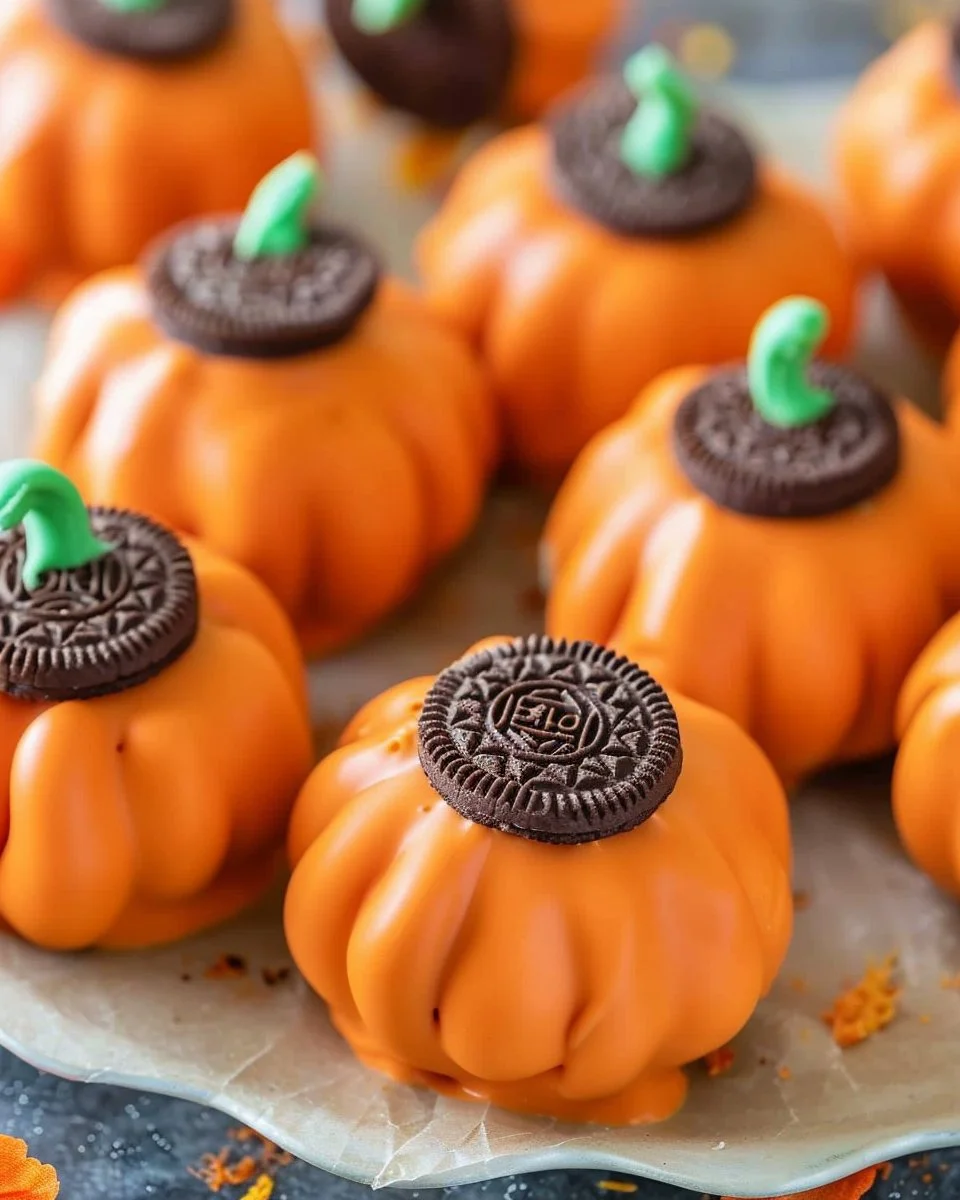
Whip Up No-Bake Pumpkin Shaped Oreo Balls This Fall
As the leaves change and the air turns crisp, there’s a delightful warmth that comes with fall treats. If you’re craving something fun, festive, and utterly delicious, look no further than no-bake pumpkin-shaped Oreo balls. These little bites of heaven not only celebrate the spirit of the season but also bring a sense of nostalgia that reminds us of family gatherings and cozy evenings. Whether you’re getting ready for Halloween parties, Thanksgiving dinners, or just looking to indulge in some sweet treats, these pumpkin-shaped delights will make you the star of any festive gathering.
The Joy of Making No-Bake Pumpkin Shaped Oreo Balls
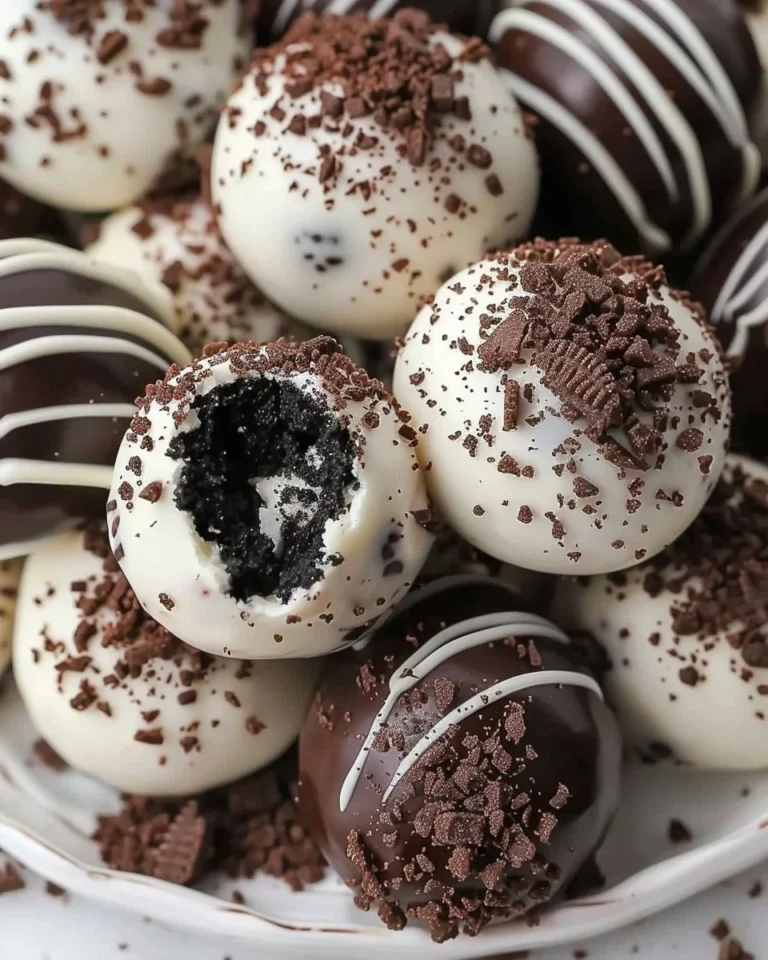
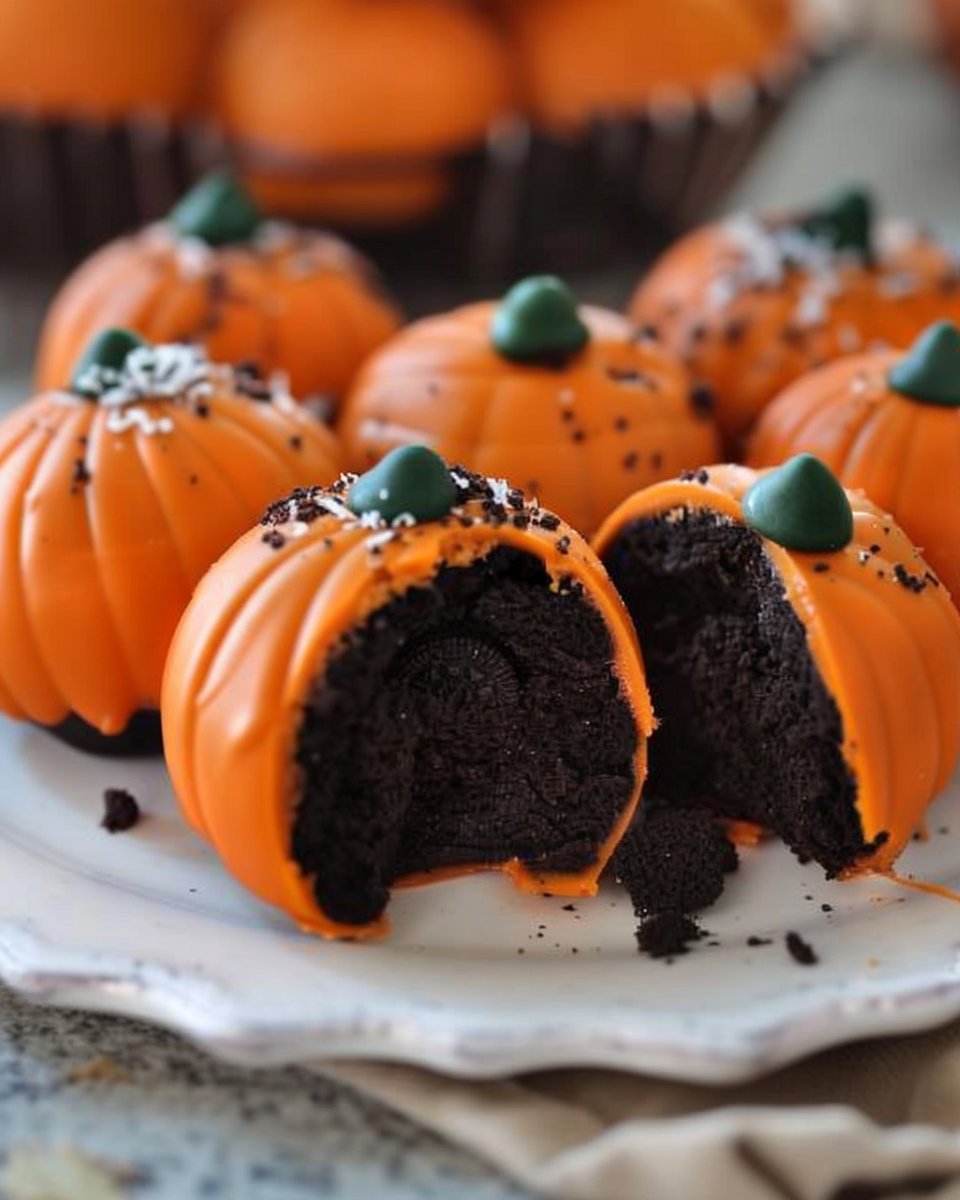
Why are no-bake pumpkin-shaped Oreo balls so special? Imagine rich, creamy Oreo filling blended with pumpkin and coated in smooth chocolate. They are simple to make, requiring minimal time and effort—perfect for even the busiest of schedules. Plus, the charming pumpkin shape adds that seasonal flair that everyone adores. When you present these snacks, you aren’t just serving a dessert; you’re serving an experience wrapped in joy and comfort.
Key Benefits of No-Bake Pumpkin Shaped Oreo Balls
- Time-Saving: No baking means more time to relax and enjoy the season.
- Simple Ingredients: Most of these are pantry staples, so you may not even have to run to the store.
- Customizable: Feel free to experiment with flavors and coatings!
- Fun for Everyone: They are a hit with kids and adults alike.
What You Need to Get Started
Before diving into the kitchen, it’s essential to gather your ingredients. Here’s what you’ll need:
- Oreo Cookies: About 36 whole cookies, classic or flavored.
- Cream Cheese: 8 oz, softened—this will give you that creamy texture.
- Pumpkin Puree: 1 cup; choose pure pumpkin for the best taste.
- Chocolate Coating: 12 oz of white chocolate, milk chocolate, or even orange candy melts for that pumpkin color.
- Decorative Supplies: Green candy melts or frosting for the pumpkin stems.
Step-by-Step Guide to Making No-Bake Pumpkin Shaped Oreo Balls
Let’s get to the fun part! Here’s how to make those adorable pumpkin-shaped Oreo balls:
- Crush the Oreos: Using a food processor, crush the Oreo cookies into fine crumbs. If you don’t have a processor, you can place the cookies in a zip-top bag and crush them with a rolling pin.
- Mix It Up: In a large bowl, combine the cookie crumbs with the softened cream cheese and pumpkin puree. Mix until thoroughly combined—it should be a perfect, moldable consistency.
- Shape the Balls: Use your hands to scoop out the mixture and roll it into small balls (about 1 inch in size). Form them slightly into a pumpkin shape by making indentation marks or pinching the top.
- Chill: Place the shaped balls onto a baking sheet lined with parchment paper and chill in the refrigerator for about 30 minutes. This will help them firm up and hold their shape.
- Melt the Chocolate: While they chill, melt your chocolate coating in a microwave-safe bowl, using 30-second intervals, stirring in between until smooth.
- Coat the Balls: Once the pumpkin balls are chilled, dip them into the melted chocolate, making sure they’re fully covered. Allow excess chocolate to drip off.
- Add the Green Stem: While the chocolate is still wet, place a small piece of green candy melt or pipe a bit of green frosting on top to create the pumpkin stem.
- Set and Serve: Once decorated, place them back on the parchment paper and let the chocolate set completely before you serve.
Creative Variations to Try
Don’t hesitate to put your spin on these no-bake treats! Here are some fun variations you can explore:
- Flavored Oreos: Use mint, peanut butter, or pumpkin spice Oreos for a unique taste.
- Nut-Free: Skip the cream cheese and substitute with safe nut alternatives, like whipped coconut cream.
- Vegan Option: Use dairy-free cream cheese and dark chocolate to make them vegan-friendly.
- Add Spices: Mix in some cinnamon or nutmeg for an extra, cozy flavor.
Common Mistakes to Avoid
Even the best bakers make mistakes! Here are a few things to watch out for:
- Overmixing the Filling: You want everything combined well, but overmixing can make it too soft to hold its shape.
- Not Chilling Enough: Skipping the chilling step can lead to messy, unshaped balls when you dip them in chocolate.
- Skipping the Coating: Chocolate isn’t just for looks—it adds flavor and helps seal in the filling, making it a crucial step.
Tips for a Perfect Batch
- Room Temperature Ingredients: Let your cream cheese soften completely at room temperature; it mixes easier and creates a smoother filling.
- Choose Quality Chocolate: Good chocolate makes all the difference. Choose high-quality melting chocolate or candy melts for the best result.
- Keep It Cool: If your kitchen is warm, consider using a chilled bowl for the chocolate to maintain its consistency.
Storage and Maintenance
These no-bake pumpkin-shaped Oreo balls are perfect for make-ahead treats! You can store them in an airtight container in the fridge for up to one week. If you’re planning a party, feel free to make them a few days in advance to lighten your load.
A Festive Serving Idea
Serve your pumpkin-shaped Oreo balls on a festive platter, perhaps garnished with some autumn leaves or mini pumpkins to add to the fall theme. They can also be an excellent addition to a dessert table or as party favors wrapped in clear bags with a little ribbon.
Frequently Asked Questions
1. How long do no-bake pumpkin shaped Oreo balls last?
They can last in the fridge for up to one week if stored in an airtight container.
2. Can I freeze no-bake pumpkin shaped Oreo balls?
Yes! You can freeze them for up to three months. Just make sure they’re well-wrapped or in a suitable container.
3. What adjustments can I make for a vegan version of no-bake pumpkin shaped Oreo balls?
You can substitute regular cream cheese with a dairy-free cream cheese and use dark chocolate that’s labeled as vegan.
4. Can I make these with gluten-free Oreos?
Absolutely! Gluten-free Oreos work perfectly for a gluten-free version of these treats.
5. What’s the best way to coat the Oreo balls?
Dip into melted chocolate using a fork, allowing any excess to drip off before setting them back on parchment paper.
Conclusion
Indulging in no-bake pumpkin-shaped Oreo balls is more than just enjoying a sweet treat; it’s about creating memories and celebrating the joys of the fall season. Easy to make, pleasing to the eye, and delicious to eat, these festive goodies will undoubtedly find a special place in your recipe collection. So gather your loved ones, follow the steps, and enjoy the delightful moments that come with each bite. Happy fall, and enjoy your pumpkin-shaped creations!
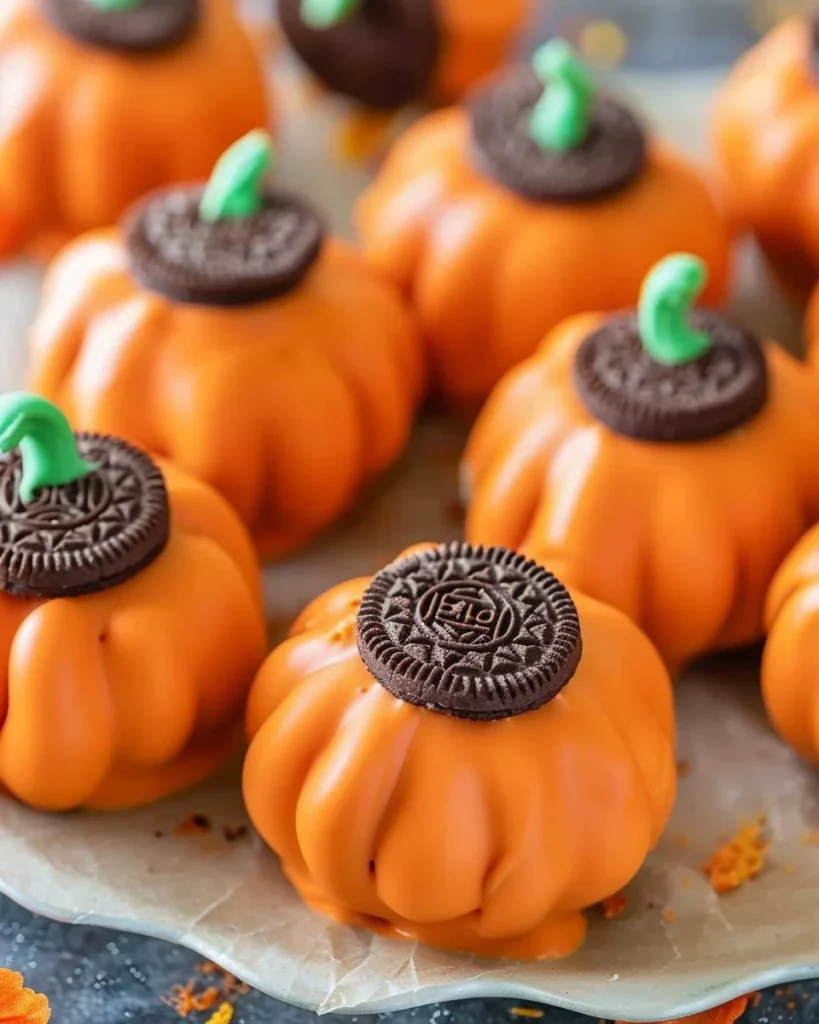
No-Bake Pumpkin Shaped Oreo Balls
Ingredients
Method
- Crush the Oreo cookies into fine crumbs using a food processor, or place them in a zip-top bag and crush with a rolling pin.
- In a large bowl, mix the crushed cookies with softened cream cheese and pumpkin puree until fully combined and moldable.
- Scoop out the mixture and roll it into small balls, then shape them slightly into a pumpkin form with indentation marks.
- Place the shaped balls on a baking sheet lined with parchment paper and refrigerate for about 30 minutes to firm up.
- Melt your chocolate coating in a microwave-safe bowl in 30-second intervals, stirring until smooth.
- Dip the chilled pumpkin balls into the melted chocolate, ensuring they are fully covered, then let excess chocolate drip off.
- While the chocolate is still wet, add a small piece of green candy melt or pipe on some green frosting to create the pumpkin stem.
- Return the decorated Oreo balls to the parchment paper and allow the chocolate to set completely before serving.