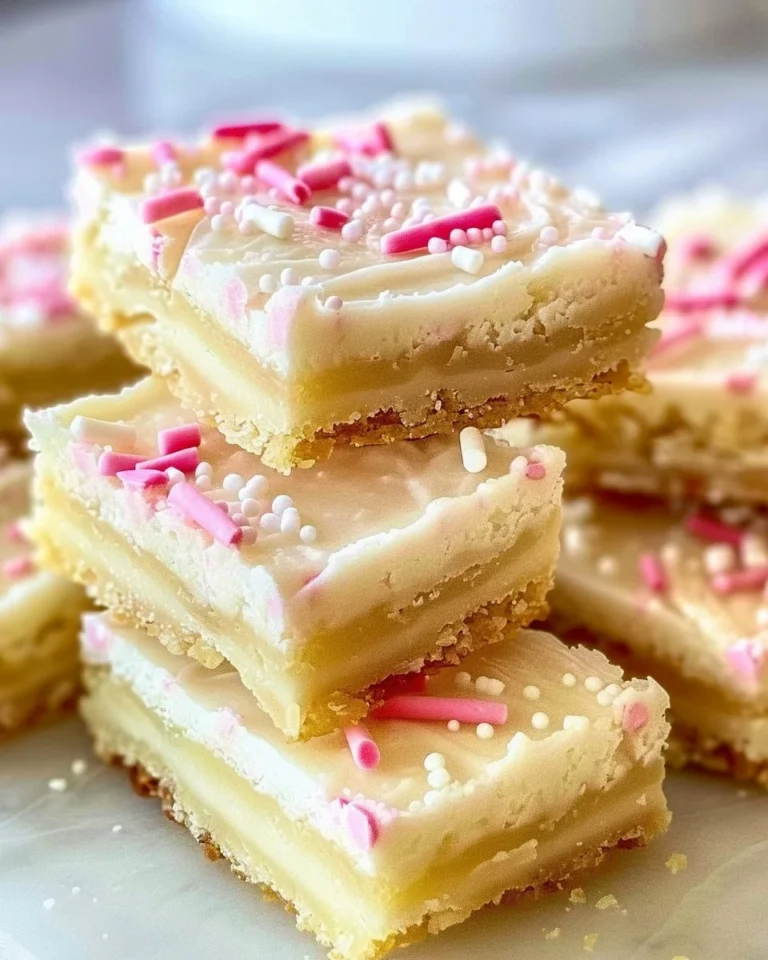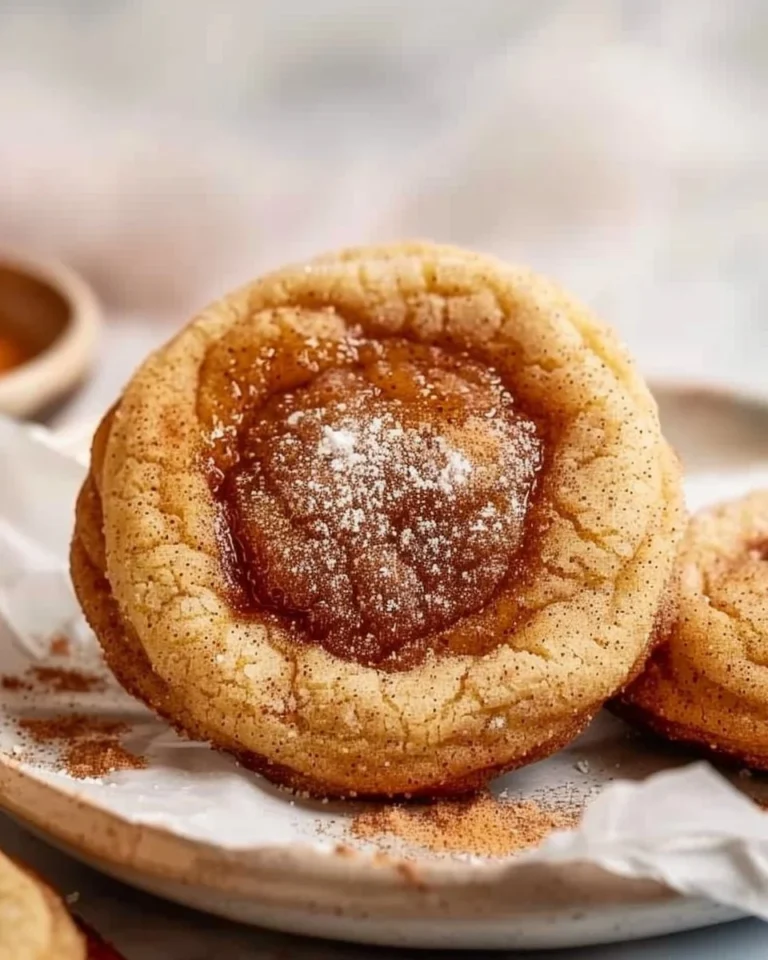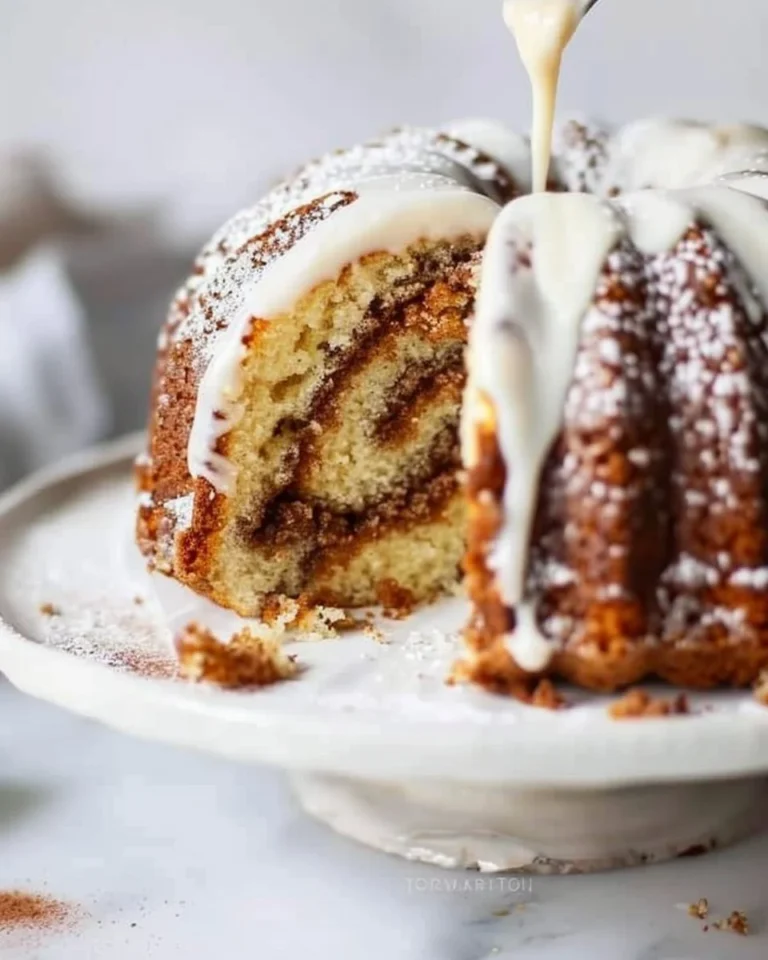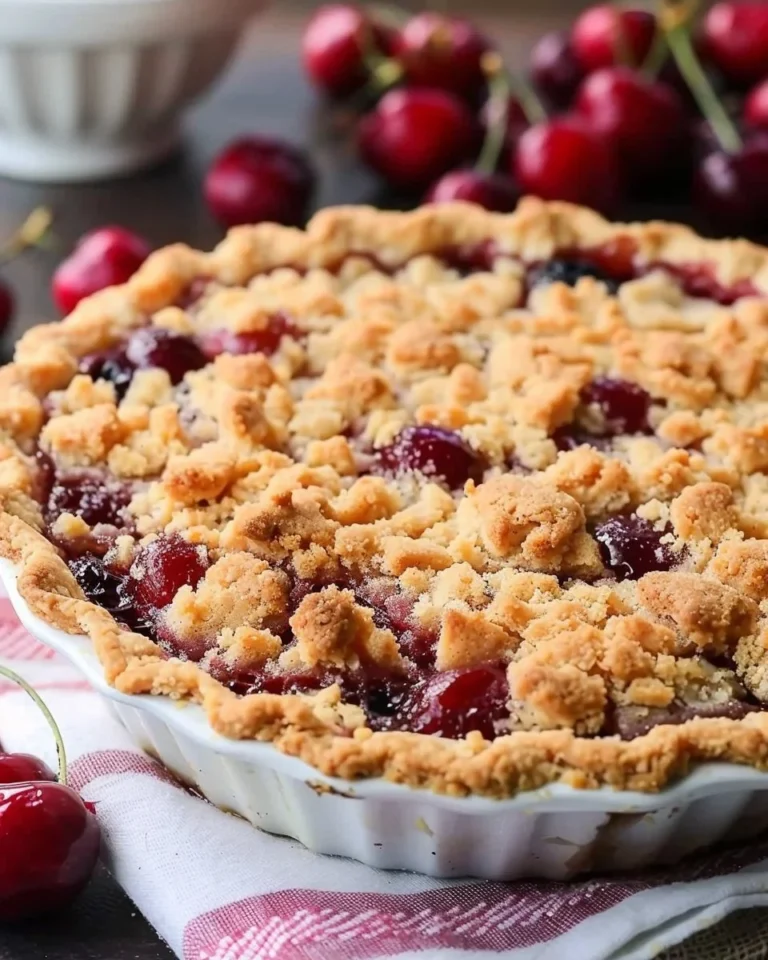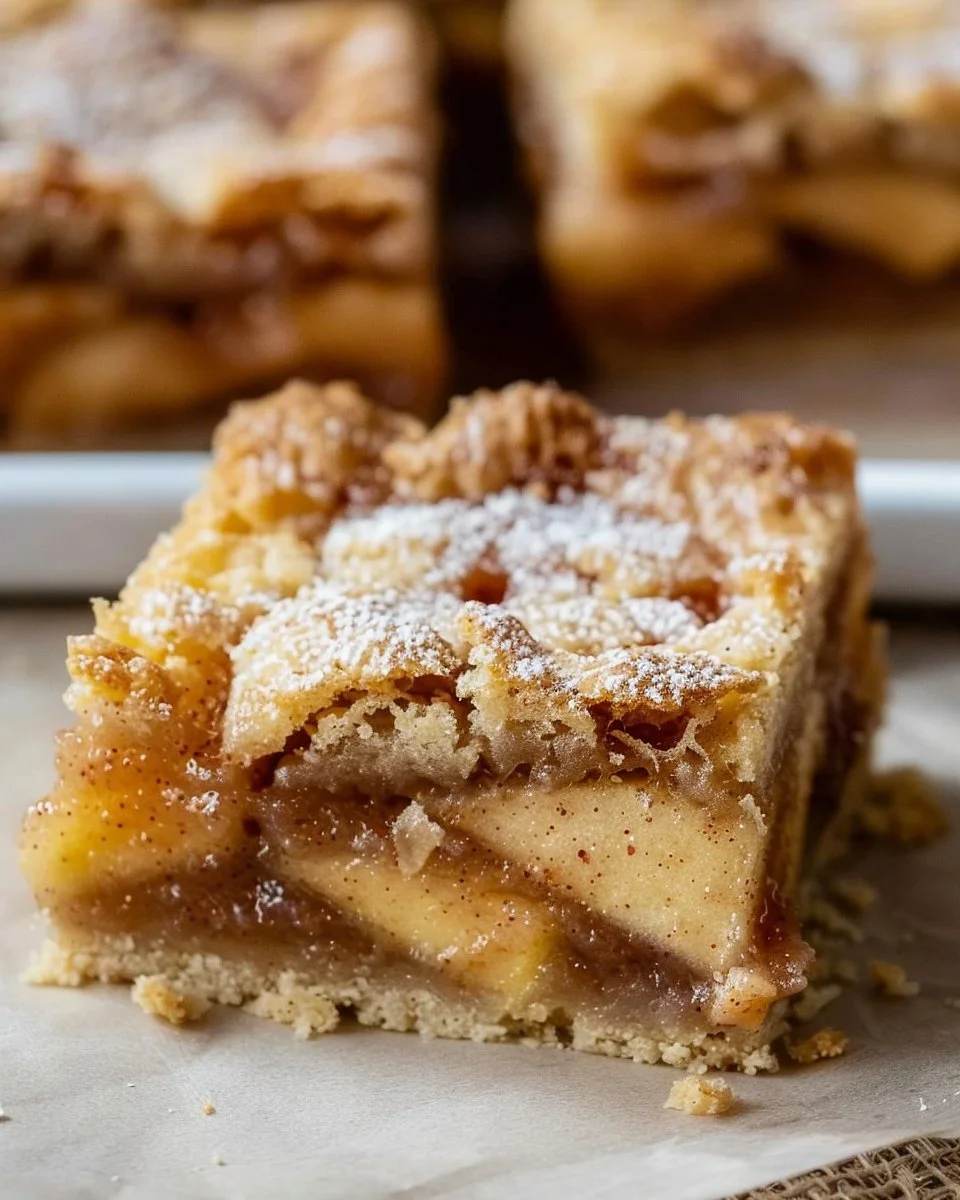
Discover the Irresistible Delight of Apple Pie Bars
Imagine biting into a sweet, tender crust filled with warm, spiced apples—it’s like a slice of autumn served on a platter. If you’ve ever wished you could enjoy the comforting flavors of traditional apple pie without the fuss of pie crust, then apple pie bars are your solution. These delectable treats blend the essence of classic apple pie with the convenience of handheld goodness, making them perfect for parties, picnics, or just a cozy night at home.
Apple pie bars deserve a spot on your recipe roster for many reasons beyond their delightful taste. They capture all the aromatic spices and flavors you adore in apple pie while being easier to make and serve. Let’s explore how to create these scrumptious bars from scratch, dive into some expert tips, and discover ways to customize your recipe to suit any occasion.
Why Apple Pie Bars Stand Out
The beauty of apple pie bars lies in their versatility. They deliver the same mouthwatering flavors as traditional apple pie but come with a more straightforward preparation. From busy moms looking for a quick dessert to college students wanting to impress their friends, apple pie bars fit the bill.
Moreover, they can be made ahead of time and stored for days, making them an ideal choice for meal prep or last-minute treats. Still not convinced? Here are some key benefits that might sway you:
- Simplicity: Less effort than fussing with a whole pie.
- Versatility: Easily adjustable to incorporate different fruits or spices.
- Portability: Perfectly portioned and fit for gatherings.
- Freezable: Enjoy them fresh or let them chill in the freezer for a future treat.
Essential Ingredients for Apple Pie Bars
Creating your apple pie bars is easy with just a handful of ingredients that you might already have on hand:
For the Crust:
- 2 1/2 cups all-purpose flour
- 1 cup unsalted butter, softened
- 1/2 cup granulated sugar
- 1/2 teaspoon salt
- 1/2 teaspoon baking powder
- 1 large egg
For the Filling:
- 4 to 5 cups peeled and sliced apples (Granny Smith or Honeycrisp work best)
- 3/4 cup brown sugar
- 2 teaspoons ground cinnamon
- 1 teaspoon vanilla extract
- 1 tablespoon lemon juice
- 1 tablespoon cornstarch (for thickening)
For the Topping:
- 1/2 cup rolled oats
- 1/2 cup all-purpose flour
- 1/4 cup brown sugar
- 1/4 cup butter, melted
- Pinch of salt
Step-by-Step Guide to Making Apple Pie Bars
Creating apple pie bars is a delightful process and well worth your time. Follow these simple steps to make your own batch:
- Preheat the Oven: Set your oven to 350°F (175°C).
- Prepare the Crust: In a large bowl, combine flour, sugar, salt, and baking powder. Cut in the butter until the mixture resembles coarse crumbs. Add the egg and mix until well combined. Press this dough into the bottom of a greased 9×13 inch baking dish.
- Make the Filling: In another bowl, toss the sliced apples with brown sugar, cinnamon, vanilla extract, lemon juice, and cornstarch. Ensure all the apples are well-coated.
- Assemble: Spread the apple mixture evenly over the crust layer in your baking dish.
- Prepare the Topping: In a small bowl, mix oats, flour, brown sugar, melted butter, and salt. Sprinkle this mixture generously over the apples.
- Bake: Place the dish in the preheated oven. Bake for about 35-40 minutes or until the apples are bubbly and the topping is golden brown.
- Cool and Serve: Allow the bars to cool for at least 15 minutes before slicing into squares. Serve warm or at room temperature with a scoop of vanilla ice cream for extra indulgence.
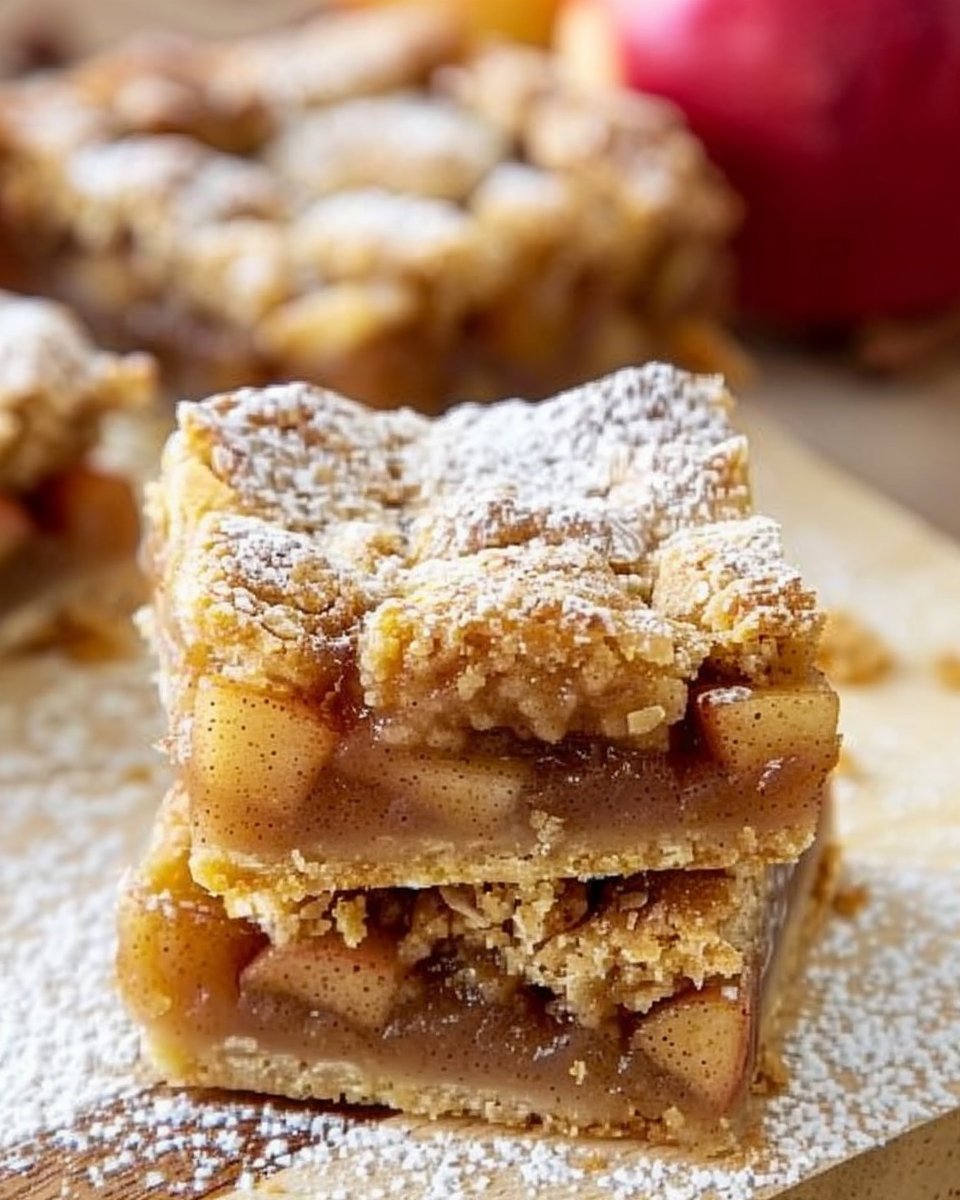
Pro Tips for the Perfect Apple Pie Bars
Creating delicious apple pie bars can be further enhanced with a few tips from the pros:
- Choose the Right Apples: Mixing varieties like tart and sweet apples can balance flavors and enhance texture.
- Don’t Skip the Lemon Juice: It adds brightness and helps keep the apples from browning too quickly.
- Let Them Rest: Allowing the bars to cool completely helps the filling set, making for cleaner cuts.
- Experiment with Spices: Enhance the flavor with nutmeg, ginger, or even a dash of allspice for a unique twist.
Creative Variations to Consider
The beauty of apple pie bars is that they can be easily modified to your preference:
- Caramel Apple Bars: Drizzle caramel sauce over the apple filling before adding the topping for a decadent twist.
- Nutty Topping: Add chopped pecans or walnuts to the topping mix for a crunchy element.
- Gluten-Free Option: Substitute regular flour with a gluten-free blend to cater to dietary restrictions.
- Add a Layer: Consider adding a layer of cream cheese between the crust and apples for a cheesecake-like experience.
Common Mistakes to Avoid
While making apple pie bars is relatively easy, there are some pitfalls to watch out for:
- Overmixing the Dough: This can lead to a tough crust. Mix just until combined.
- Using Overripe Apples: Pick apples that are firm and not overly ripe for the best texture.
- Not Spacing the Filling Evenly: Ensure the apple mixture is evenly spread to avoid uneven cooking.
- Skipping the Cooling Time: Cutting into warm bars can make a messy situation. Patience is key!
Storing and Serving Your Apple Pie Bars
After all your hard work, you’ll want to ensure these bars stay fresh and delicious:
- Storage: Keep your apple pie bars covered in the fridge for up to a week. For longer storage, place them in an airtight container and freeze for up to three months.
- Serving Ideas: Serve with whipped cream, ice cream, or even a drizzle of warm caramel sauce. They also make an excellent addition to brunch menus!
FAQ
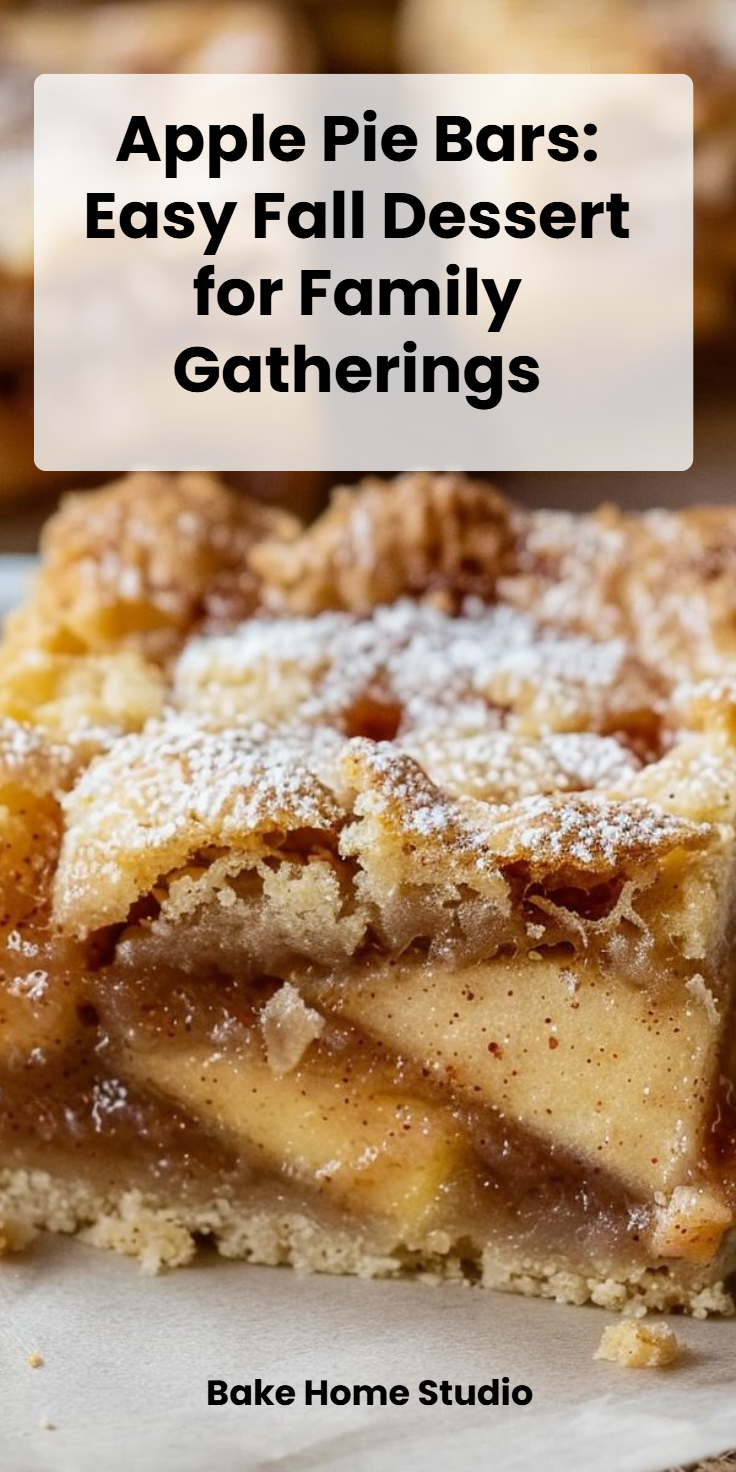
Q: What are apple pie bars?
A: Apple pie bars are simplified, handheld desserts made with a buttery crust, spiced apple filling, and a crumbly topping, capturing the essence of traditional apple pie.
Q: Can I make apple pie bars ahead of time?
A: Yes! You can prepare them in advance and store them in the fridge for up to a week or freeze them for future enjoyment.
Q: What apples are best for apple pie bars?
A: For the best flavor and texture, use a mix of tart apples like Granny Smith and sweet apples like Honeycrisp.
Q: Can I modify the recipe for dietary restrictions?
A: Absolutely! You can make gluten-free versions by substituting gluten-free flour and adjust the sugar for lower-calorie alternatives.
Q: What’s the best way to serve apple pie bars?
A: They’re delicious served warm with a scoop of vanilla ice cream or a dollop of whipped cream.
Conclusion
Apple pie bars blend all the flavors of a classic dessert into an easy-to-make, portable treat that everyone will love. With their delightful aroma and cozy textures, these bars are sure to become a staple in your dessert repertoire. Whether you’re making them for a party or just to enjoy at home, the joy these flavors bring makes them truly special. So roll up your sleeves and bake your way to happiness with apple pie bars—you won’t regret it!
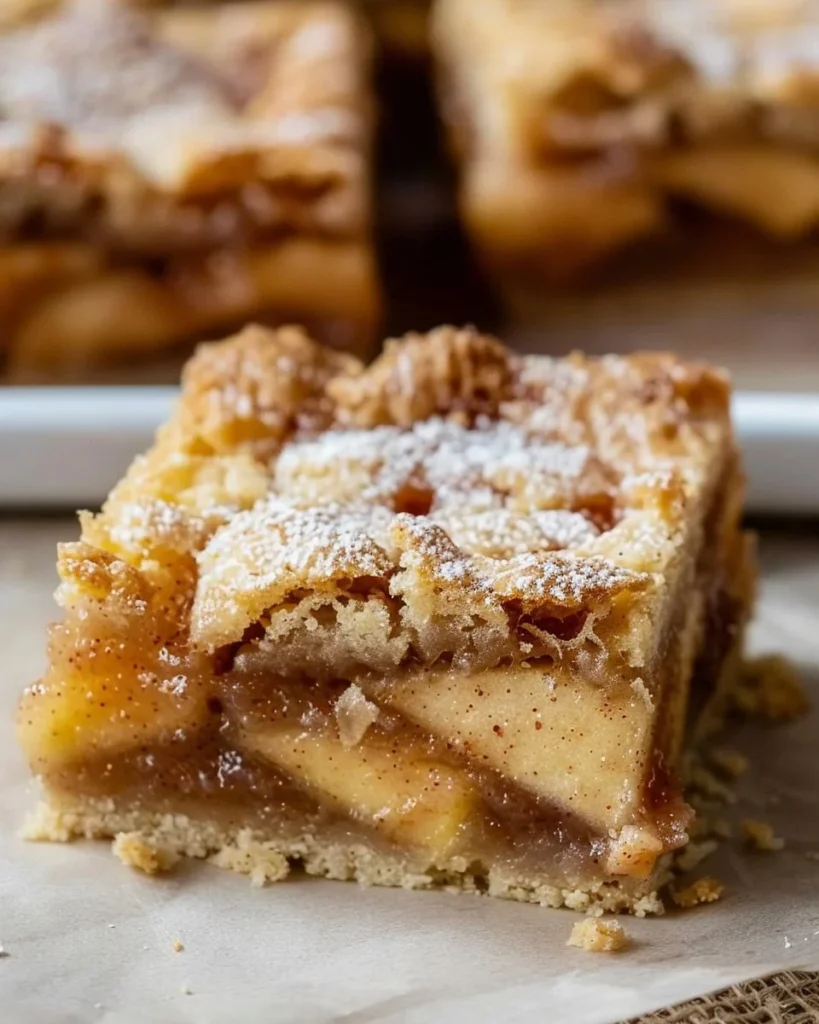
Apple Pie Bars
Ingredients
Method
- Preheat the Oven: Set your oven to 350°F (175°C).
- Prepare the Crust: In a large bowl, combine flour, sugar, salt, and baking powder. Cut in the butter until the mixture resembles coarse crumbs. Add the egg and mix until well combined. Press this dough into the bottom of a greased 9×13 inch baking dish.
- Make the Filling: In another bowl, toss the sliced apples with brown sugar, cinnamon, vanilla extract, lemon juice, and cornstarch. Ensure all the apples are well-coated.
- Assemble: Spread the apple mixture evenly over the crust layer in your baking dish.
- Prepare the Topping: In a small bowl, mix oats, flour, brown sugar, melted butter, and salt. Sprinkle this mixture generously over the apples.
- Bake: Place the dish in the preheated oven. Bake for about 35-40 minutes or until the apples are bubbly and the topping is golden brown.
- Cool and Serve: Allow the bars to cool for at least 15 minutes before slicing into squares. Serve warm or at room temperature with a scoop of vanilla ice cream for extra indulgence.