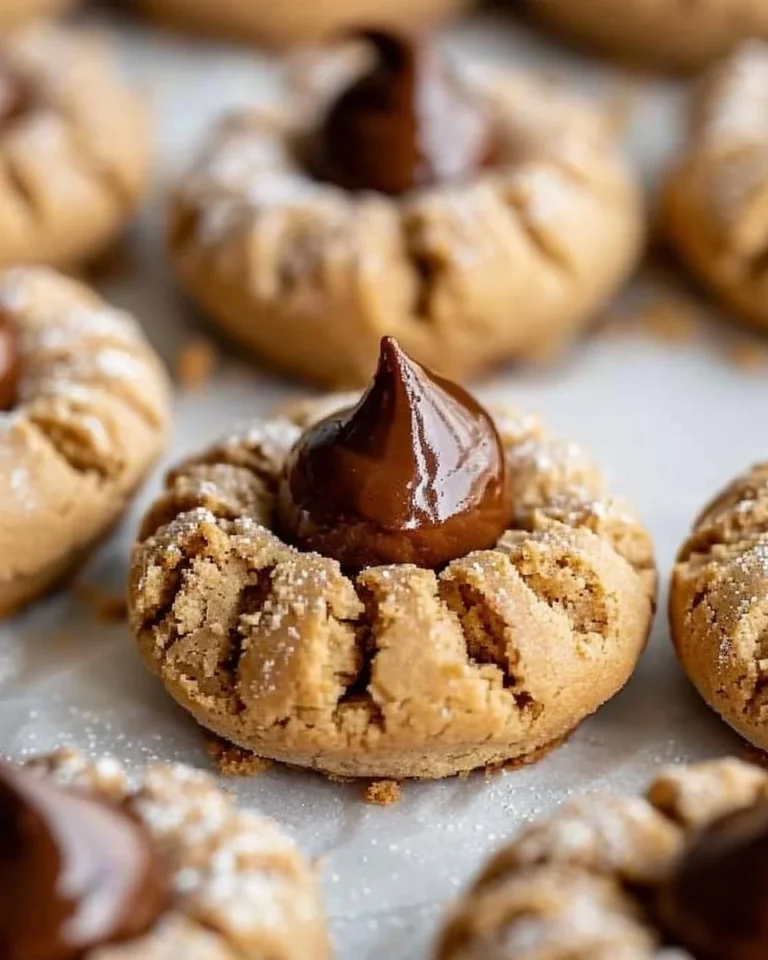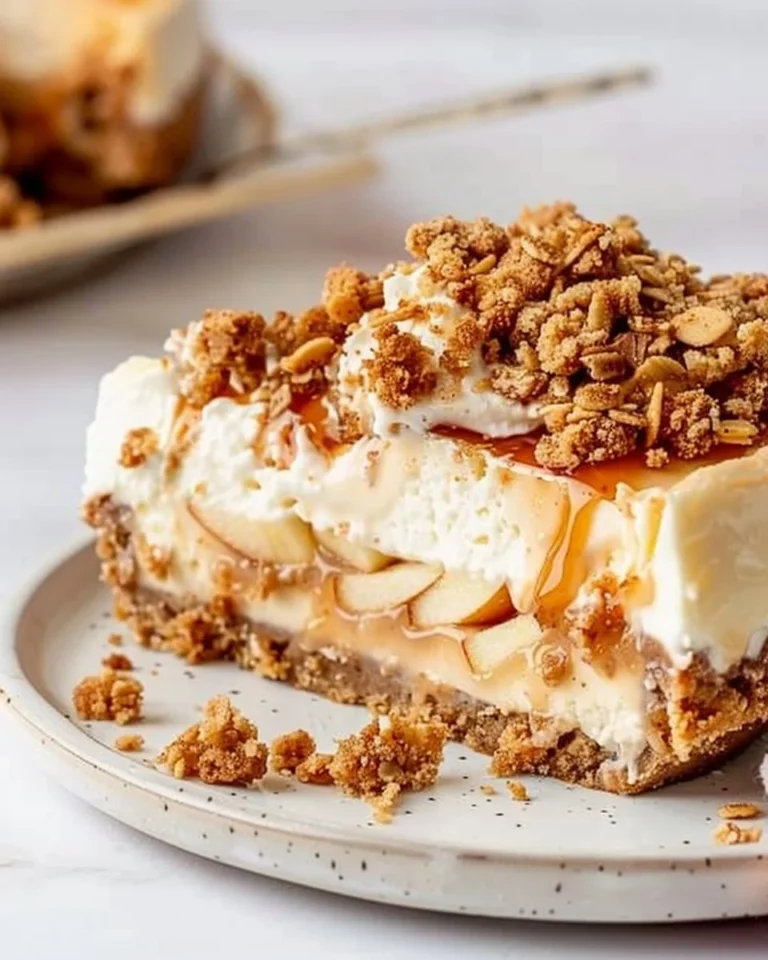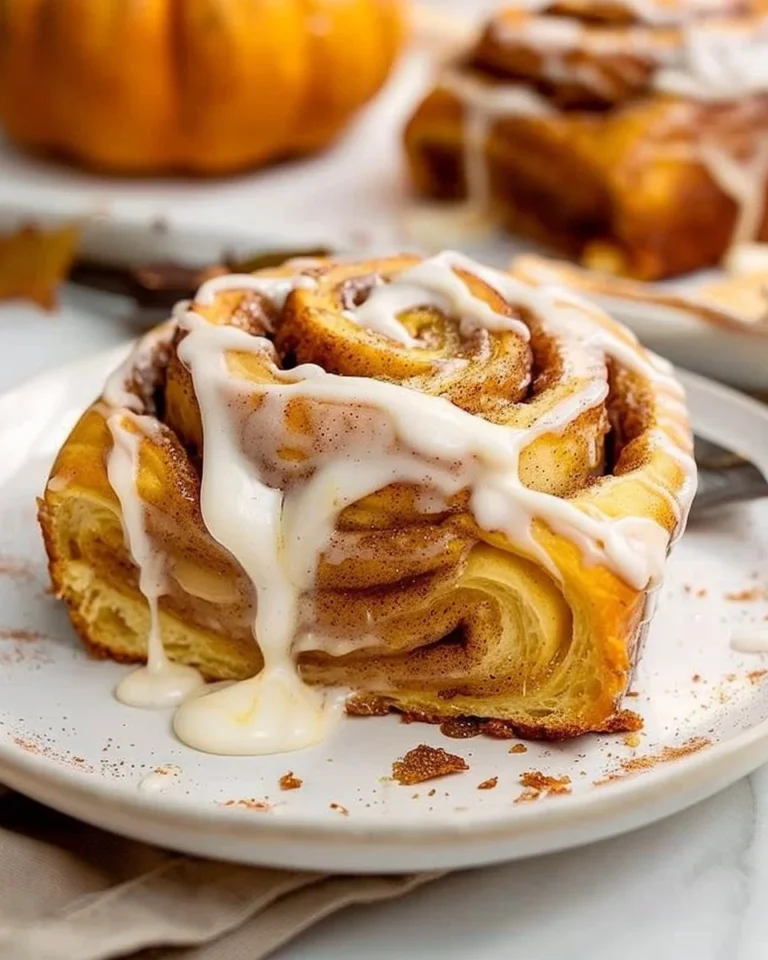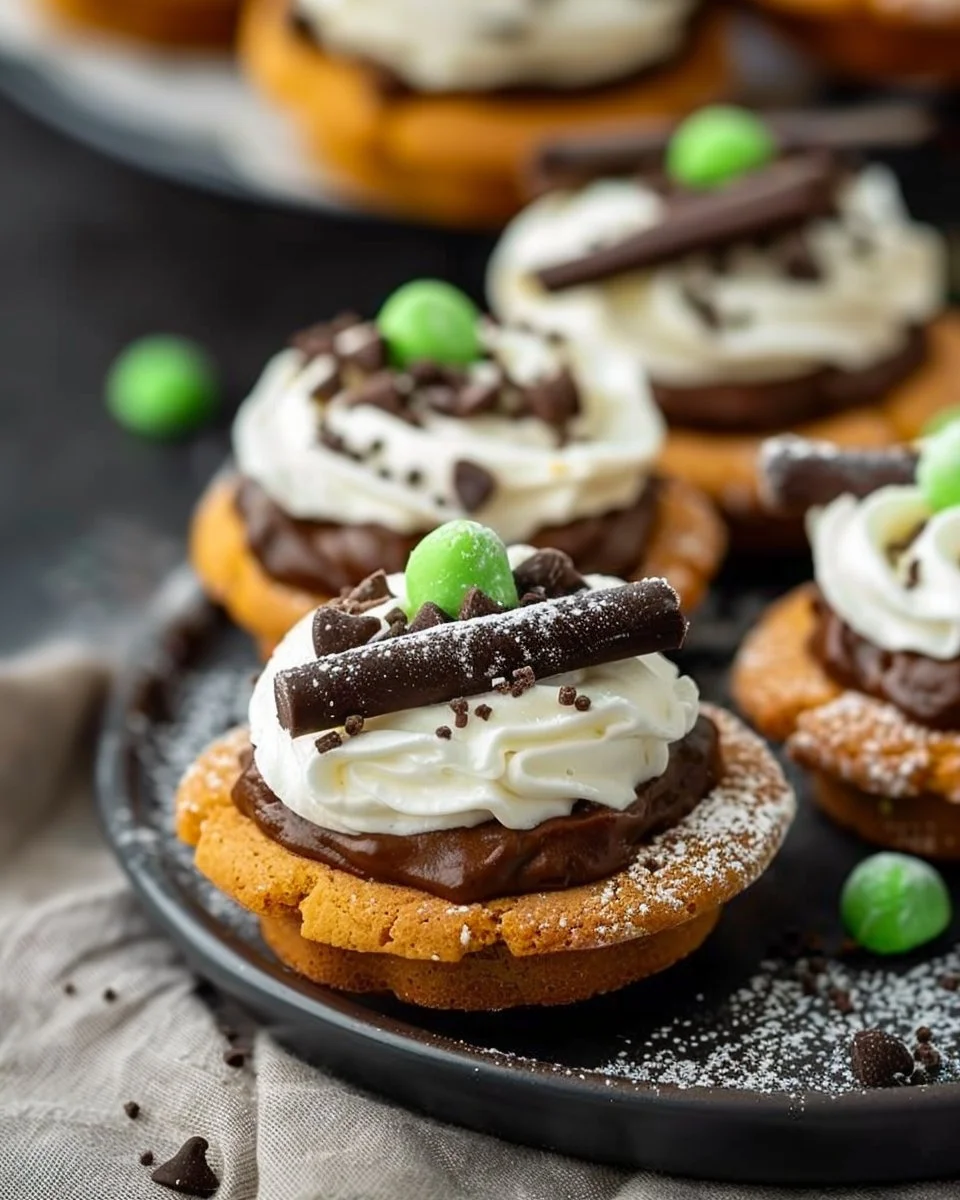
Cauldron Cookies: A Spellbinding Treat to Enchant Your Taste Buds
Who can resist the alluring charm of cookies that look as if they’ve emerged from a magical cauldron? Cauldron cookies are not just visually captivating; they offer a delightful taste explosion that has the power to ignite joy in anyone who takes a bite. Whether you’re preparing for a Halloween party, a themed gathering, or just want to make your family smile, these delectable treats are sure to enchant both the eyes and taste buds.
In this guide, we’ll explore how to create your own batch of cauldron cookies, perfect for any occasion. You’ll find step-by-step instructions and tips to ensure your treats are as magical as they sound.
Why Cauldron Cookies are a Must-Try
These whimsical cookies serve as more than just a delightful treat; they can evoke feelings of nostalgia, sparking childhood memories of playful baking sessions with loved ones. Imagine the radiant smiles on your family and friends’ faces as they enjoy something that not only tastes good but also adds a touch of creativity to any gathering. These cookies can also be a fun project for kids, perfect for fostering creativity in the kitchen.
The Allure of the Cauldron
Cauldron cookies are visually distinctive, typically adorned with vibrant colors and playful decorations. The blend of flavors and textures makes them a cherished favorite:
- Eye-Catching Aesthetic: The definitive cauldron shape and bright colors can turn heads and draw attention, making them a conversation starter.
- Versatility: They can be tailored for any season or occasion, from spooky Halloween treats to vibrant birthday celebratory cookies.
- Delicious Flavor: A soft, chewy texture paired with sweetness that leaves everyone craving more.
Let’s get into the magic of making these enchanting cauldron cookies.
Gather Your Spell Ingredients
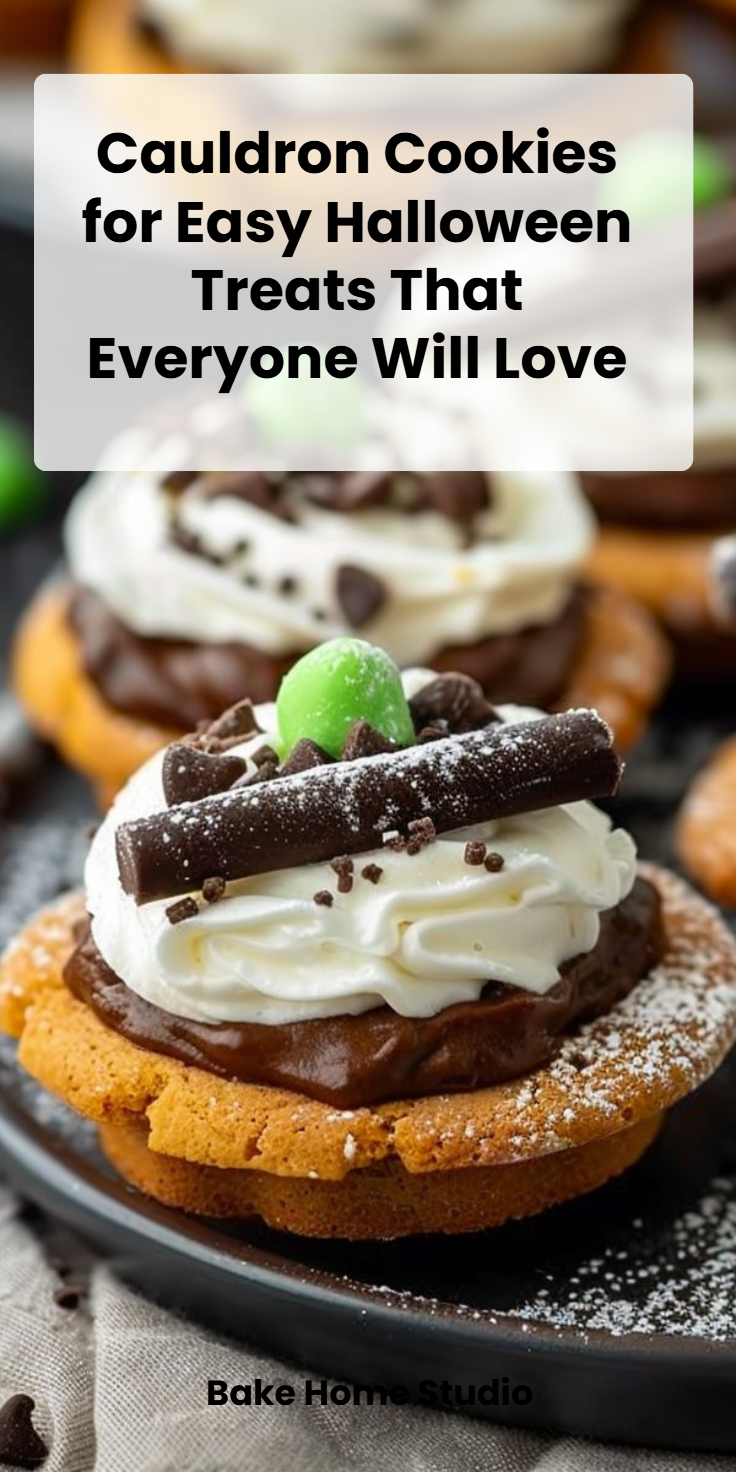
Creating cauldron cookies requires a few simple ingredients that you might already have in your pantry. Here’s what you’ll need:
- 1 box of chocolate cake mix
- 1/2 cup of vegetable oil
- 2 large eggs
- Green buttercream frosting (store-bought or homemade)
- Chocolate chips (optional for decoration)
- Candy eyes (optional for decoration)
Step-by-Step Guide to Crafting Cauldron Cookies
1. Mix Your Potion
Start by preheating your oven to 350°F (175°C). In a large mixing bowl, combine your chocolate cake mix, vegetable oil, and eggs. Stir until well blended, ensuring there are no lumps. This will serve as the base of your cauldron cookies.
2. Roll and Shape
Once your cookie dough is ready, use a spoon or cookie scoop to portion out the dough. Roll each portion into a ball and place them on a baking sheet lined with parchment paper, leaving enough space between the cookies for them to expand while baking.
3. Form the Cauldron Shape
To achieve that signature cauldron look, slightly flatten the balls of dough with your fingers and create a small dip in the center. This will serve as the bowl for your frosting later.
4. Bake Your Creation
Pop the baking sheet in the preheated oven and bake for about 10-12 minutes, or until the edges are set. Keep an eye on them; you want the cookies to be soft and chewy in the middle!
5. Cool Down
Once they’re out of the oven, let your cookies cool on the baking sheet for a few minutes before transferring them to a wire rack. Make sure they are completely cool before the next step.
6. Add the Magic
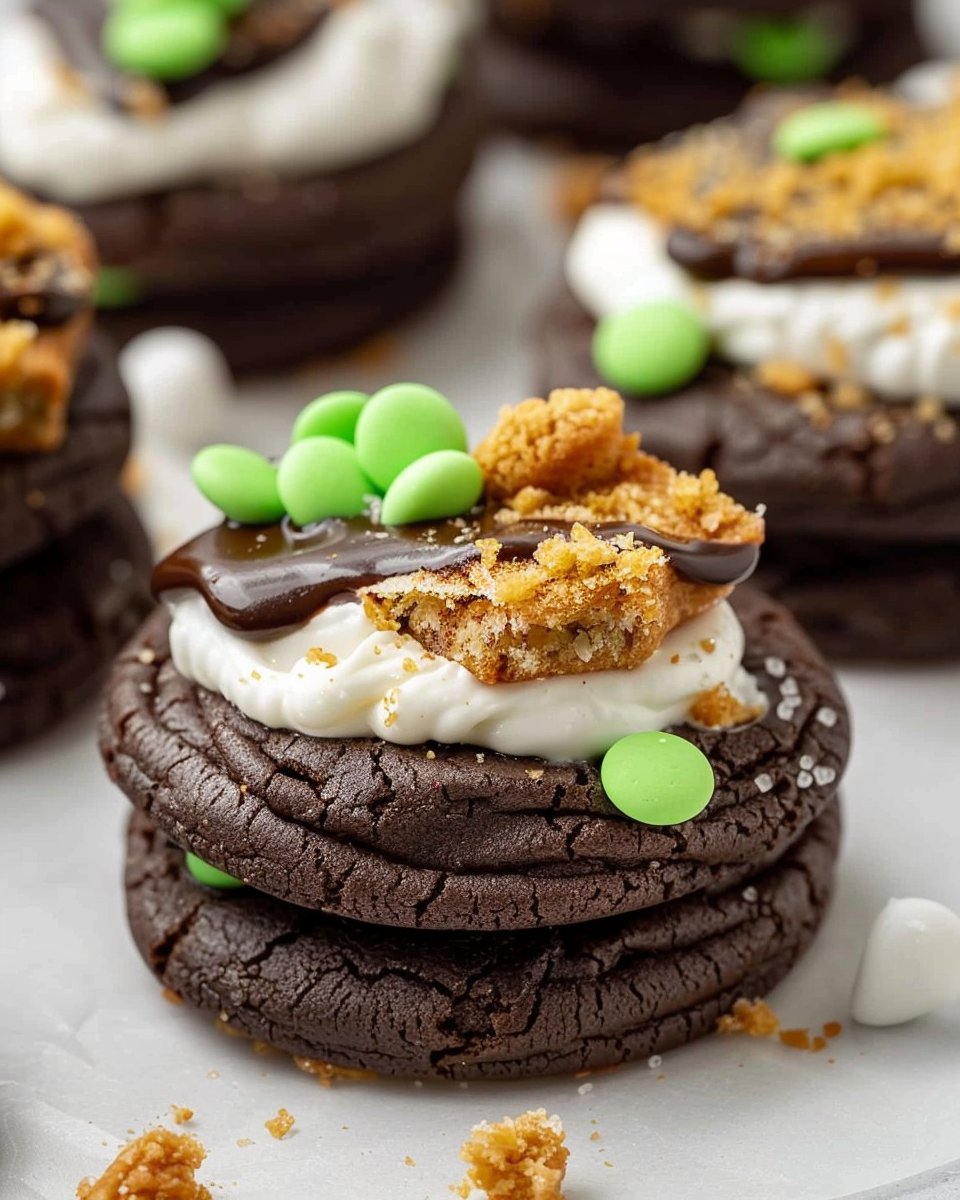
Once your cookies are cool, it’s time to decorate! Using a piping bag or a spatula, generously spread green buttercream frosting into the center dip of each cookie. This will be the “potion” in your cauldron.
7. Decorate
Sprinkle chocolate chips on top of the frosting for added charm and texture. If you’re feeling extra playful, add candy eyes to create a whimsical character on your cauldron!
Expert Tips for Perfect Cauldron Cookies
- Don’t Overmix: When combining ingredients, mixing just until blended keeps your cookies tender.
- Chill Dough: If your dough feels too warm or sticky, consider refrigerating it for about 30 minutes before baking.
- Experiment with Flavors: Feel free to explore different flavors by adding extracts or swapping chocolate cake mix for vanilla, if you prefer!
Common Pitfalls to Avoid
- Overbaking: Cookies can turn hard if baked too long. Watch the edges for a golden color while keeping the centers slightly underbaked.
- Skipping the Cooling Step: Applying frosting to warm cookies can result in a melted, messy décor. Always ensure they are fully cooled!
- Ignoring Fun Variations: Don’t hesitate to try alternative toppings or fillings to add your personalized twist.
Unique Serving Ideas
Cauldron cookies can stand alone, but they can also be paired with various dips or beverages:
- Milk Dipping: Serve them with a glass of cold milk—it brings back nostalgic vibes!
- Ice Cream Sandwiches: Use cookies as layers with your favorite ice cream in the middle for a decadent treat.
- Party Platters: Make a batch of assorted cookies and arrange them on a platter for a colorful dessert table at gatherings.
Storing Your Enchanting Treats
To keep your cauldron cookies fresh, store them in an airtight container at room temperature. They’re best enjoyed within a week but can be frozen for longer shelf life. Just make sure to separate layers with parchment paper if stacking them in a container!
Frequently Asked Questions
What are cauldron cookies?
Cauldron cookies are fun, themed cookies inspirited by witch’s cauldrons, typically made with cake mix and decorated with frosting and toppings to look like bubbling brews.
Can I make cauldron cookies ahead of time?
Absolutely! You can bake the cookies in advance and frost them the day before your event to save time.
How can I customize my cauldron cookies?
You can vary flavors by using different cake mixes or add unique decorations such as edible glitter, sprinkles, or themed candies for special events!
Is there a healthier option for cauldron cookies?
Yes! You can substitute the cake mix with a healthier alternative or use whole grain flour, and experiment with less sugar while maintaining the fun visuals.
Conjuring Up Magical Memories
Cauldron cookies aren’t just about taste or looks; they’re about connecting with tradition, sparking creativity, and creating joyful moments with loved ones. Next time you find yourself in a baking mood, reach for this enchanting recipe, and let the good times bubble over. With each batch, you won’t just be making cookies; you’ll be crafting lasting memories that fill your home with warmth and laughter. So gather your ingredients and let the magic begin!
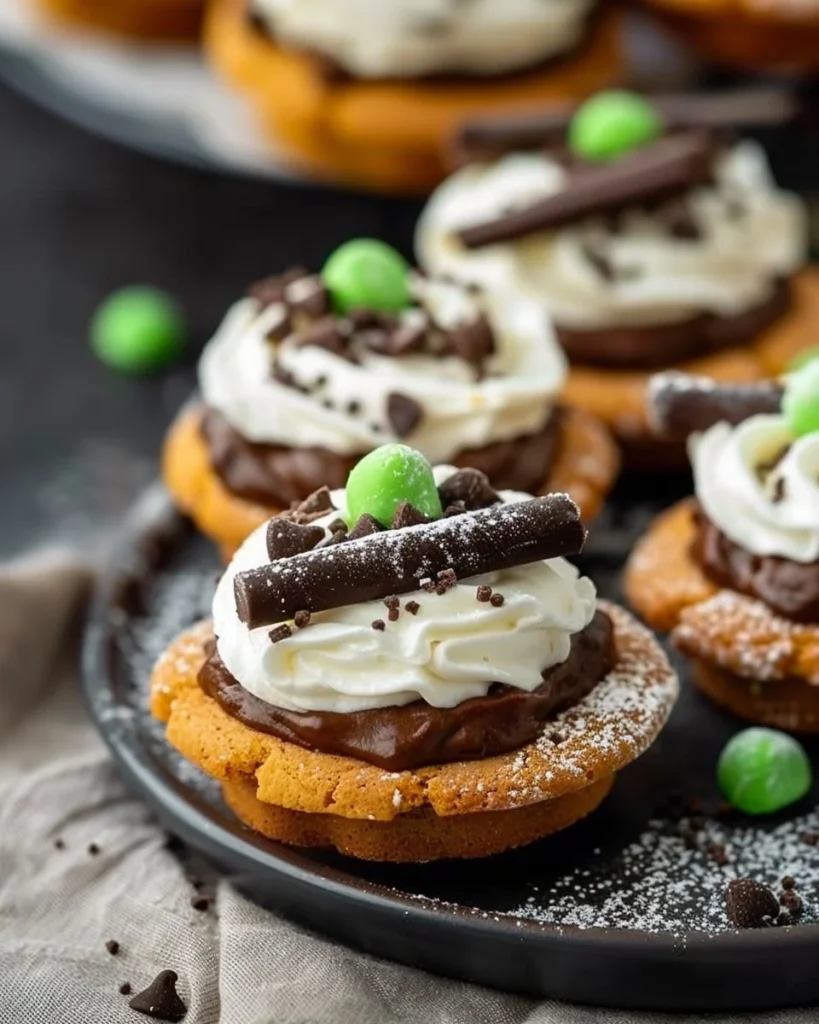
Cauldron Cookies
Ingredients
Method
- Preheat your oven to 350°F (175°C).
- In a large mixing bowl, combine the chocolate cake mix, vegetable oil, and eggs. Stir until well blended, ensuring there are no lumps.
- Use a spoon or cookie scoop to portion out the dough, rolling each portion into a ball.
- Place the dough balls on a baking sheet lined with parchment paper, leaving space between them.
- Slightly flatten the balls of dough with your fingers and create a small dip in the center.
- Bake in the preheated oven for about 10-12 minutes or until the edges are set.
- Let the cookies cool on the baking sheet for a few minutes before transferring them to a wire rack.
- Once the cookies are completely cool, spread green buttercream frosting into the center dip of each cookie.
- Sprinkle chocolate chips on top of the frosting and add candy eyes if desired.