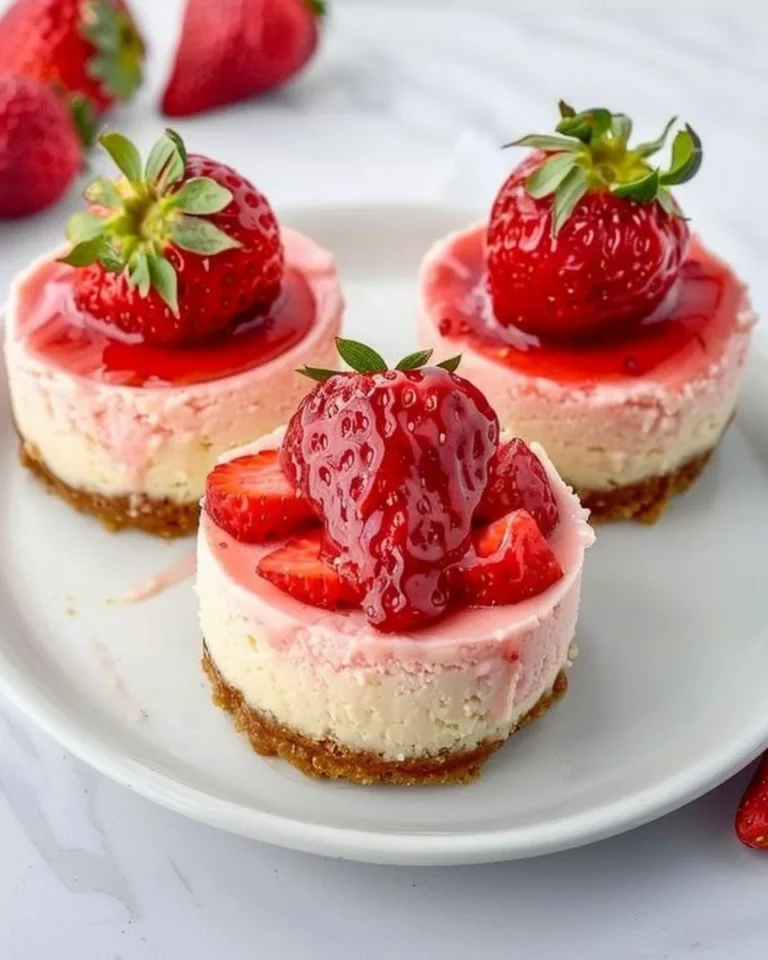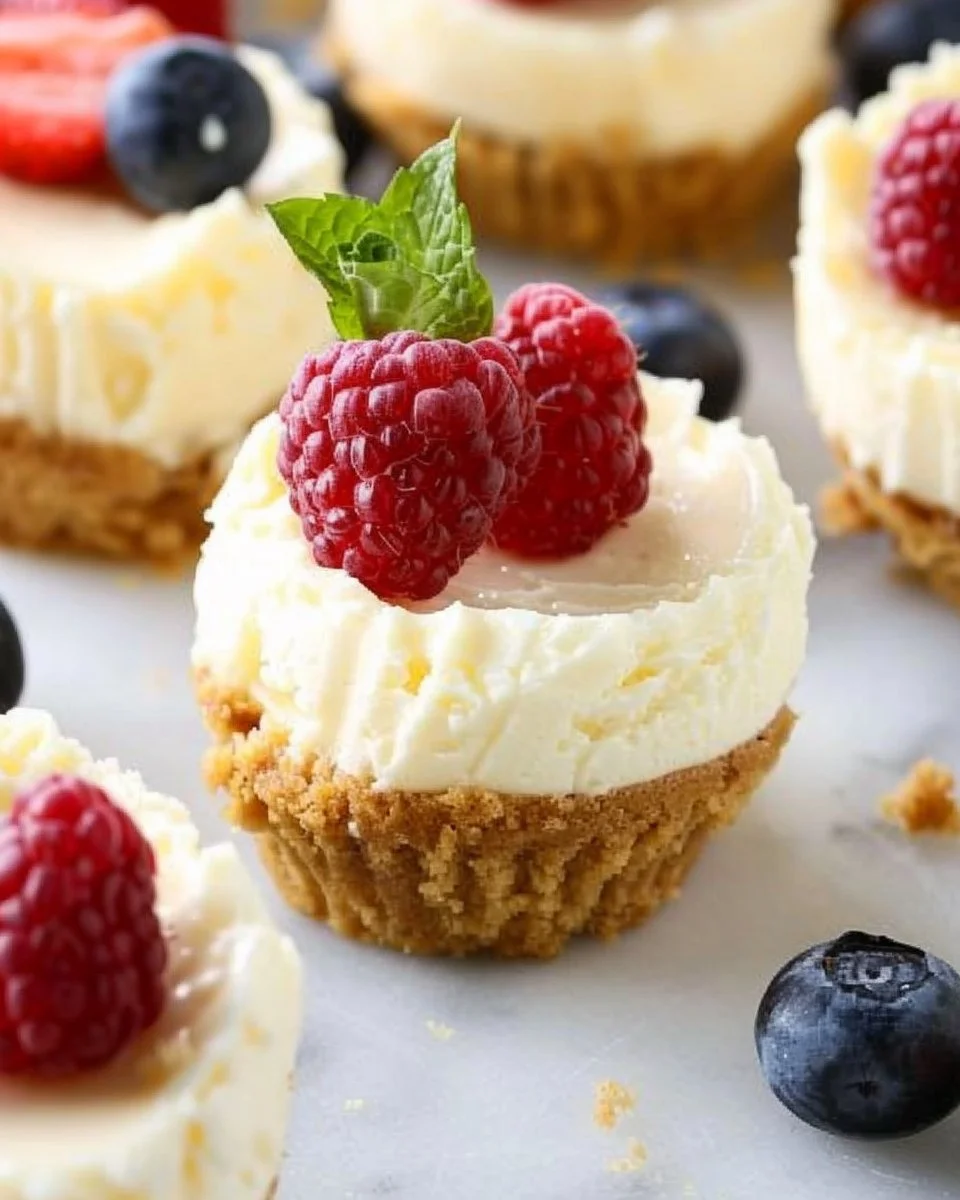
Mini Cheesecakes: Your New Favorite Dessert
Imagine biting into a creamy, delicious, perfectly portioned mini cheesecake. Not only do these decadent delights bring a touch of indulgence to your day, but they can also simplify your dessert experience—no more slaving away at a full-sized cake that may go uneaten! Mini cheesecakes are the ultimate solution for sweet cravings during gatherings, weeknight treats, or simply as a personal indulgence. In this article, you’ll discover everything you need to know about crafting these delightful desserts that will leave you and your loved ones craving more.
Why Mini Cheesecakes Are a Game Changer
What’s not to love about mini cheesecakes? These delightful bites offer the rich flavor of classic cheesecake combined with the convenience of individual servings. They’re perfect for:
- Portion Control: Say goodbye to slicing and serving. Each mini cheesecake is a neatly packaged treat.
- Customization: The sky’s the limit when it comes to flavors and toppings, accommodating everyone’s taste preferences.
- Ease of Preparation: Mini cheesecakes can often be made in bulk, ensuring you have enough for any occasion—from casual get-togethers to festive celebrations.
Ingredients: What You’ll Need
To whip up a batch of scrumptious mini cheesecakes, gather the following ingredients:
- 1 cup graham cracker crumbs
- 1/4 cup sugar
- 1/2 cup butter, melted
- 16 oz cream cheese, softened
- 1/2 cup sugar
- 1 tsp vanilla extract
- 2 large eggs
Step-by-Step Guide to Perfect Mini Cheesecakes
Creating delicious mini cheesecakes at home is easier than you might think. Just follow these simple steps:
- Prepare Your Baking Pan: Preheat your oven to 325°F (163°C) and line a muffin tin with cupcake liners.
- Make the Crust: In a mixing bowl, combine graham cracker crumbs, sugar, and melted butter until well blended. Press about a tablespoon of the mixture into the bottom of each cupcake liner to form a crust. Bake for about 5 minutes, then remove from the oven and let cool.
- Prepare the Filling: In a large bowl, beat the softened cream cheese until smooth. Gradually add in the sugar and vanilla, followed by the eggs, mixing until just combined.
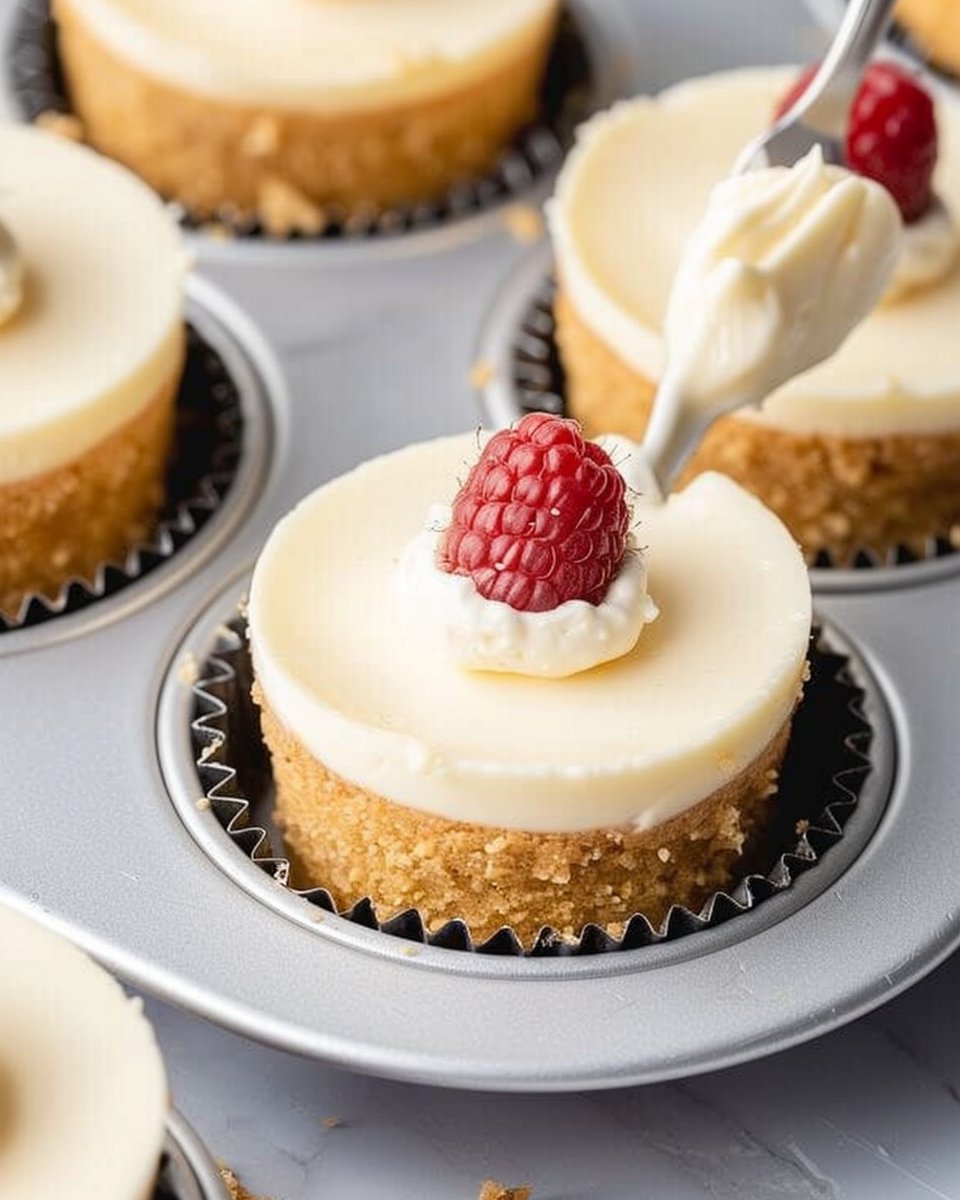
- Fill the Cups: Spoon the filling over the cooled crusts, filling each liner about 3/4 full to allow room for rising.
- Bake: Place the muffin tin in the oven and bake for approximately 15-20 minutes, or until the edges are set but the center still has a slight jiggle.
- Cool: Remove the cheesecakes from the oven and allow them to cool at room temperature. Once cooled, refrigerate for at least 2 hours to set properly.
- Serve: Top with your favorite fruit, chocolate drizzle, or whipped cream just before serving.
Flavor Variations to Try
While classic mini cheesecakes are divine, don’t hesitate to get creative! Here are a few delicious variations:
- Chocolate Chip: Fold mini chocolate chips into the batter for a delightful surprise.
- Fruit Swirl: Blend fresh berries into the cream cheese mixture or add a fruit compote on top.
- Pumpkin Spice: Mix in pumpkin puree and spice for a seasonal twist.
- Matcha: Add matcha powder to the filling for a unique flavor and a pop of color.
Expert Tips for Success
- Room Temperature Ingredients: Ensure your cream cheese and eggs are at room temperature for a smoother batter.
- Don’t Overmix: Overmixing can lead to cracks in your cheesecakes. Mix until just combined.
- Water Bath for Creamier Texture: For an ultra-smooth mini cheesecake, consider using a water bath. Place your muffin tin in a larger pan filled with hot water while baking.
Common Mistakes and How to Avoid Them
Mini cheesecakes are generally foolproof, but here are some pitfalls you should watch out for:
- Overbaking: Keep an eye on them as they bake—overbaking can lead to dryness and cracks. They should be set at the edges and slightly jiggly in the center when you take them out.
- Not Cooling Properly: Skipping the cooling step before refrigerating can compromise texture and flavor.
- Skipping the Liners: Muffin liners not only make for easy serving but also prevent sticking.
Serving Suggestions
Serve mini cheesecakes as a stand-alone dessert or incorporate them into a dessert table. They pair beautifully with:
- Coffee or Tea: A great way to end your meal.
- Fruit Salad: Bright, fresh flavors complement the creaminess of the cheesecake.
- Chocolate Dipped Strawberries: For a touch of indulgence.
Storing Your Mini Cheesecakes
If you happen to have leftovers (though this is rare!), store them in an airtight container in the refrigerator for up to a week. For longer storage, mini cheesecakes can be frozen. Just be sure to wrap them individually in plastic wrap before placing them in a freezer-safe container. Thaw in the refrigerator when you’re ready to enjoy them!
Health Considerations
While mini cheesecakes are undeniably a treat, moderation is key. Feel free to experiment with lighter versions using lower-fat cream cheese or Greek yogurt for a healthier option that still satisfies your sweet tooth.

FAQ
Q: Can I make mini cheesecakes ahead of time?
A: Absolutely! Mini cheesecakes can be made a day in advance and stored in the refrigerator until you’re ready to serve.
Q: How can I make mini cheesecakes gluten-free?
A: Simply substitute graham cracker crumbs with gluten-free alternatives, such as gluten-free cookies or crushed nuts.
Q: What should I do if my mini cheesecakes crack?
A: Cracks can occur from overbaking. To minimize them, bake at a lower temperature and avoid opening the oven door frequently.
Q: Can I customize the flavors of my mini cheesecakes?
A: Yes! You can add fruit, nuts, or flavored extracts to the batter for unique variations.
Q: How do I remove mini cheesecakes from the liners?
A: Gently peel back the liner to separate it from the cheesecake; they should come off easily if the liners are used.
Q: What are some popular toppings for mini cheesecakes?
A: Popular toppings include fresh fruits, chocolate, caramel sauce, and whipped cream.
Conclusion
Mini cheesecakes are not just desserts; they’re experiences—each bite taking you on a creamy, indulgent journey. Whether you’re serving them at a gathering or enjoying them on your own, these delightful treats offer a perfect balance of flavor and texture. With endless variations and straightforward preparation steps, mini cheesecakes are a must-try in any kitchen. So, get ready to impress your friends and family with these mouthwatering delights that are sure to be the star of any occasion!
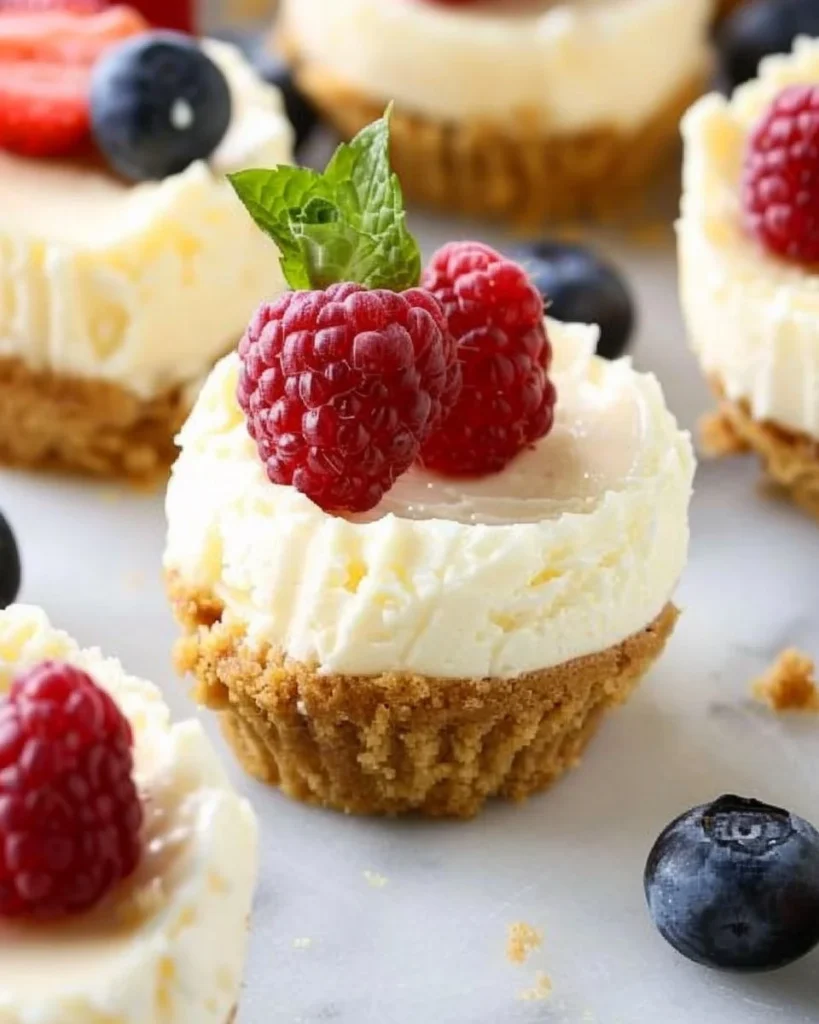
Mini Cheesecakes
Ingredients
Method
- Preheat your oven to 325°F (163°C) and line a muffin tin with cupcake liners.
- In a mixing bowl, combine graham cracker crumbs, sugar, and melted butter until well blended.
- Press about a tablespoon of the mixture into the bottom of each cupcake liner to form a crust. Bake for about 5 minutes, then remove from the oven and let cool.
- In a large bowl, beat the softened cream cheese until smooth.
- Gradually add in the sugar and vanilla, followed by the eggs, mixing until just combined.
- Spoon the filling over the cooled crusts, filling each liner about 3/4 full to allow room for rising.
- Place the muffin tin in the oven and bake for approximately 15-20 minutes, or until the edges are set but the center still has a slight jiggle.
- Remove the cheesecakes from the oven and allow them to cool at room temperature. Once cooled, refrigerate for at least 2 hours to set properly.
- Top with your favorite fruit, chocolate drizzle, or whipped cream just before serving.